


User Tag List
 Thanks: 0
 Likes:
Results 1 to 15 of 137
-
04-28-2010, 12:58 AM #1
 Banned
- Join Date
- Apr 2010
- Location
- Madison, Milwaukee, WI
- Posts
- 149
- Thanks (Given)
- 0
- Thanks (Received)
- 0
- Likes (Given)
- 0
- Likes (Received)
- 5
- Mentioned
- 0 Post(s)
- Tagged
- 0 Thread(s)
78 Sleekcraft Aristocrat Build Thread
Edit Update: Photobucket really screwed up all the images on this thread, so I rebuilt my build thread on IMGUR.
BUILD THREAD HERE -----> https://imgur.com/a/qXQGw
I also now run the Sleekcraft Group on facebook, and we have over 1000 members from all over the world! It's crazy to me how little information was available on the internet in 2010, and now we have sleekcraft members from Norway helping people restore their sleeks in Arizona. Strange world!
To anyone tackling a similar project, if it is an i/o, please don't bother posting here, and join Offshore Only. If it's Outboard powered, awesome, post it here. I lost a lot of time on my project due to being confused about this, but the simple fact is there are more outboard than i/o guys here, and Offshore Only is the opposite.
Anyway, back to the original thread, cheers!
------------------------------------------------------------------------------------
Well, I bought it. This is basically the only place on the net I found some sleekcraft info and owners, so here's where my build thread will go.
I originally posted this thread about the sleekcraft, and after getting answers from owners of other sleeks, I decided to pull the trigger. Yeah, some of you said it would be a bad idea, but whatever. I have definitely fallen in love with the lines of this boat, so I think it's worth it. Anyway, here is the story so far.
April 27th, 2010- I drove to the PO's house at 6pm, armed with new trailer lights, and the PO said he'd tow it for me. Well, after 2 hours of troubleshooting the wiring, the ENTIRE TRAILER was rewired, and we had functional trailer lights. It was at this point that we noticed one of the wheel bearings was bad. 1.5 hours later, and we were good to go. The drive was about an hour and 15 minutes away, and halfway through madison, the port side fender mount cracked in half, dragging the fender on the rear tire. I ripped it off and threw it in the boat, and carried on. Parked it at 11:30pm, went to sleep.
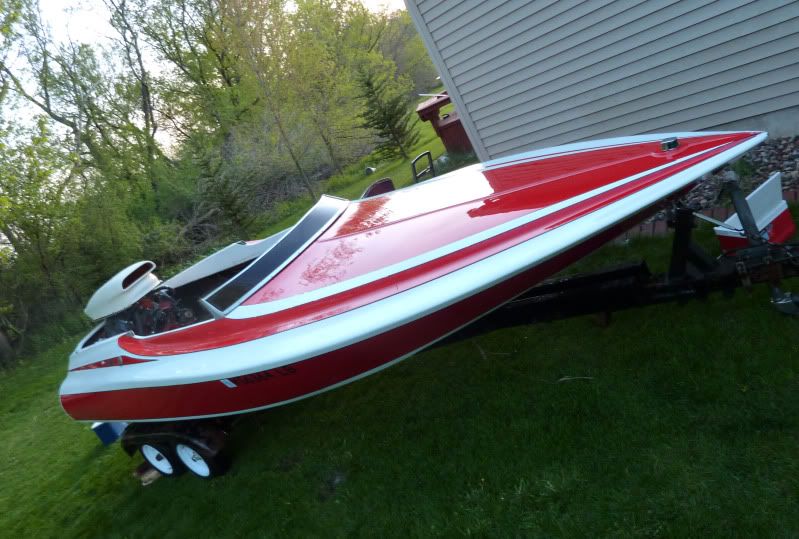
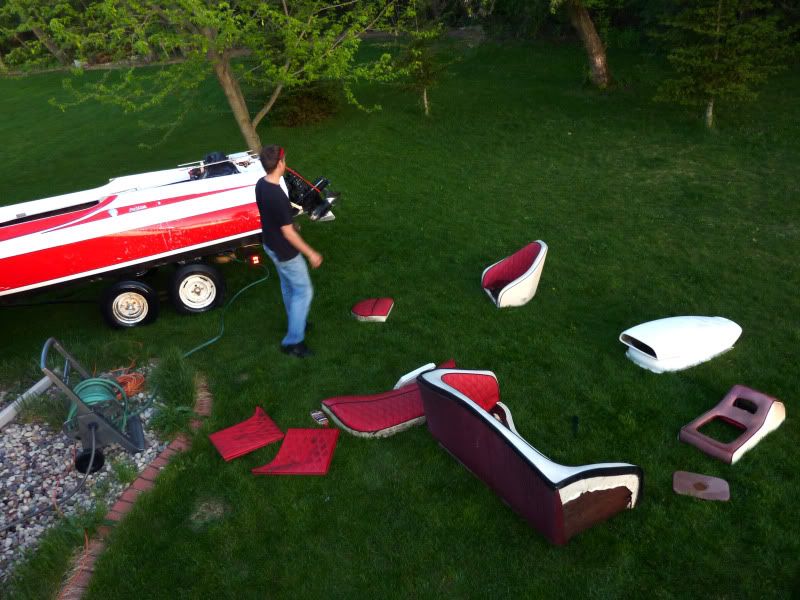
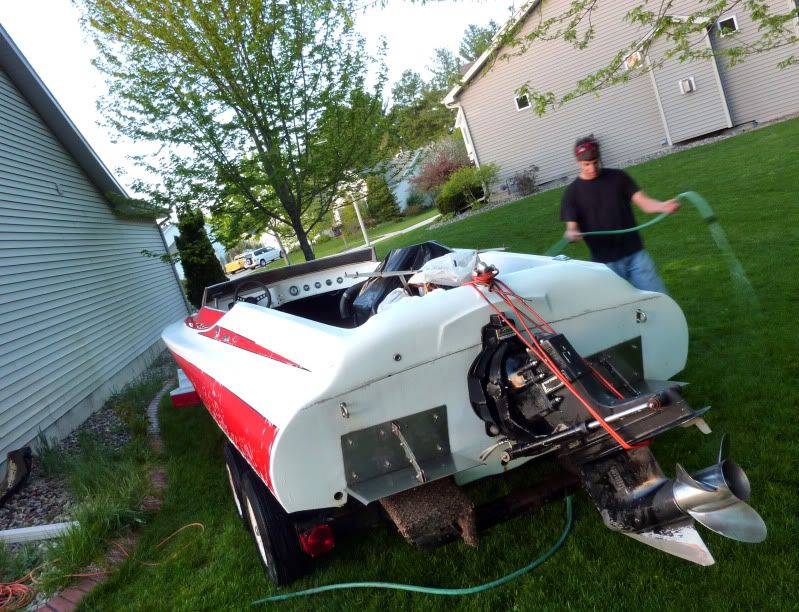
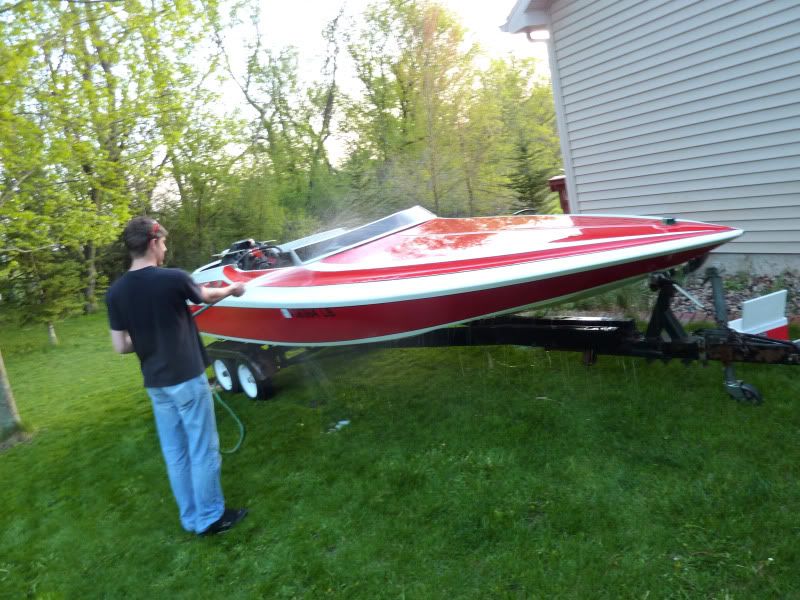
April 28th, 2010- Boat was FILTHY. Removed the seating, carpeting, and anything else that was rolling around inside. Purchased some new gaskets for the exhaust manifolds, and set them in the garage. Have two sets, need to make one GOOD set. The seats might be salvageable... the vinyl is okay, but the wood is rotten, so we'll see what I can do. Also, the seams are coming apart in SOME places, but overall they are decent. The gauges will need to be replaced, as well as the floor between the tunnels. Need to reinforce the cap, as the side area flexes due to rotten supports, as well as reinforce the tow hook. Pretty pumped about this thing, washed it with my roommate and we were both impressed with how good the cap/hull look. Pretty amazing how well it has cleaned up so far. All of the black tape will need to be replaced.
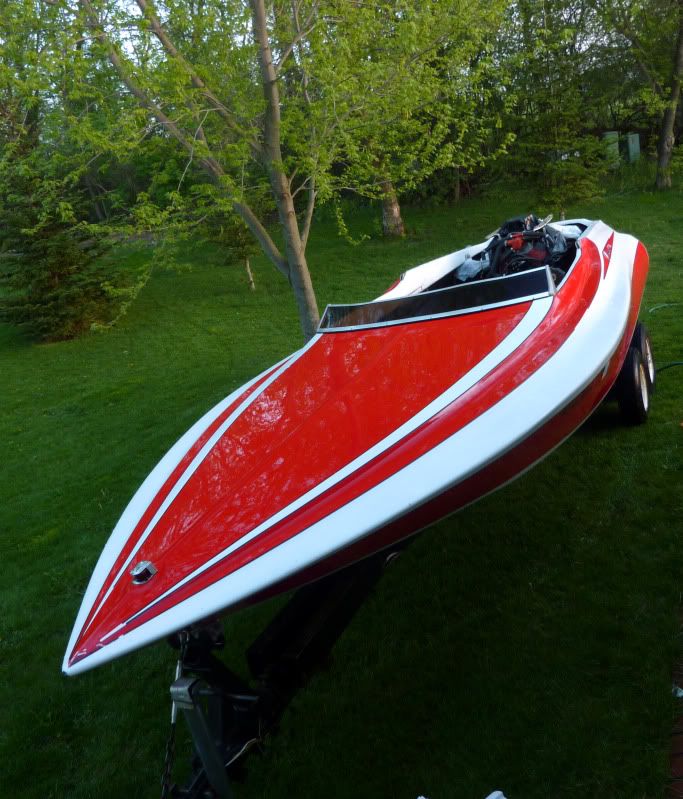
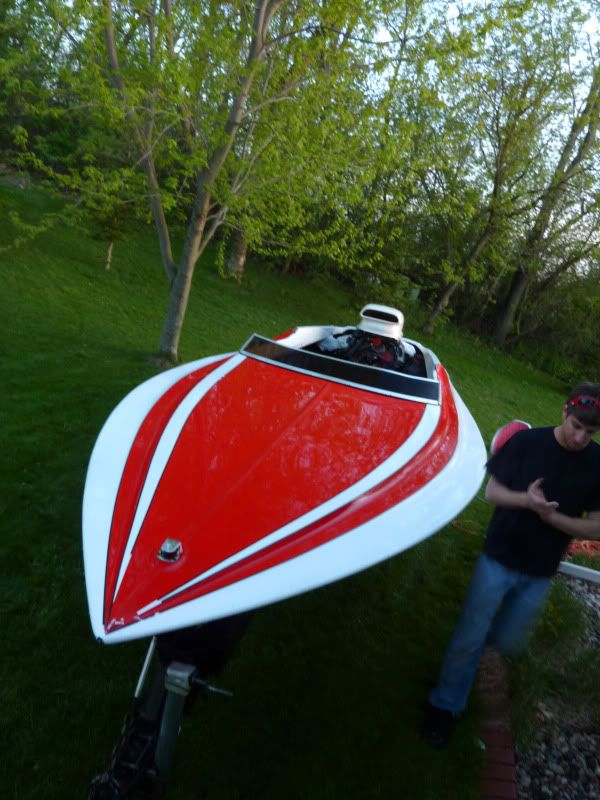
Here she is after a quick wash:
And the beginning of 4 weeks of ridiculousness:
Total cost so far: $1200, initial purchase price. $180, shop towels, manifold gaskets, hand goop, and waterPROOF heavy duty top of the line boat cover. $1380.00Last edited by Cash68; 05-10-2018 at 04:34 PM.
-
04-28-2010, 06:22 AM #2
Member
- Join Date
- Jul 2007
- Location
- Poway, California
- Posts
- 62
- Thanks (Given)
- 0
- Thanks (Received)
- 0
- Likes (Given)
- 0
- Likes (Received)
- 0
- Mentioned
- 0 Post(s)
- Tagged
- 0 Thread(s)
subscribed. I've always liked these hulls almost as much as the 21 daytona.
-
04-28-2010, 06:59 AM #3
Screaming And Flying!
- Join Date
- Apr 2001
- Location
- Miami,Fl
- Posts
- 6,990
- Thanks (Given)
- 128
- Thanks (Received)
- 80
- Likes (Given)
- 1267
- Likes (Received)
- 368
- Mentioned
- 0 Post(s)
- Tagged
- 0 Thread(s)
I like it
 good luck and keep updating as you go along. Rick
-
04-28-2010, 07:05 AM #4
7000 RPM
- Join Date
- Nov 2002
- Location
- MCHENRY, IL/LOTO
- Posts
- 2,445
- Thanks (Given)
- 0
- Thanks (Received)
- 2
- Likes (Given)
- 0
- Likes (Received)
- 23
- Mentioned
- 0 Post(s)
- Tagged
- 0 Thread(s)
That definitely cleaned up nice! Good luck and be careful. Later, Dave
2018 South Bay 3.0+ Tritoon W/Merc 400R
2019 Wright Perfomance 36, twin Merc 400R's
-
04-30-2010, 12:48 AM #5
Banned
- Join Date
- Apr 2010
- Location
- Madison, Milwaukee, WI
- Posts
- 149
- Thanks (Given)
- 0
- Thanks (Received)
- 0
- Likes (Given)
- 0
- Likes (Received)
- 5
- Mentioned
- 0 Post(s)
- Tagged
- 0 Thread(s)
April 27th, 2010
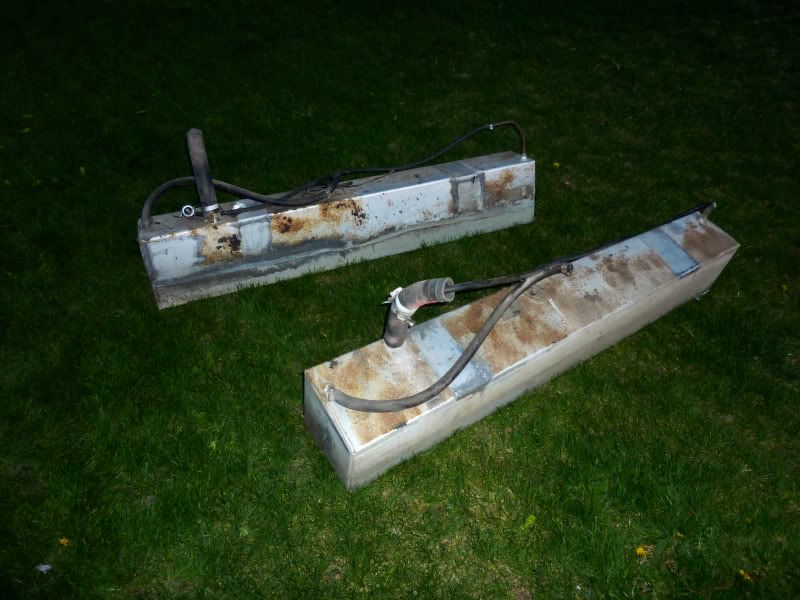
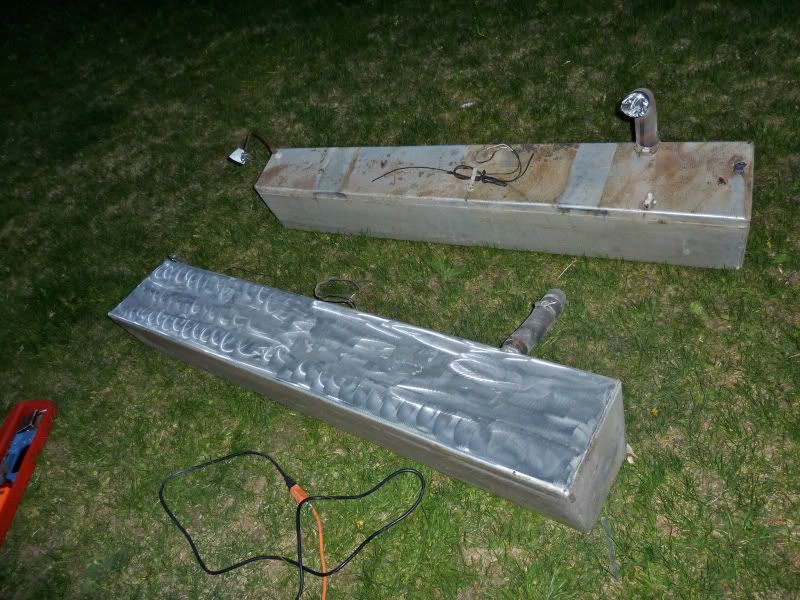
Removed fuel tanks; they were glassed in. Welded aluminum everything! Nice! Removed filler hardware, getting stainless ones instead.
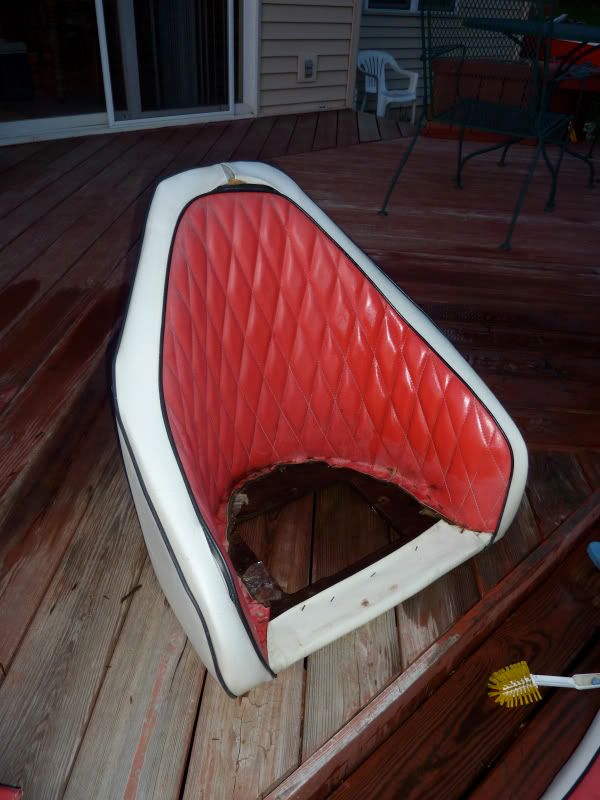
Spent a few hours scrubbing the seats with 409 and a huge scrub brush. DISGUSTING. There was stuff growing in the seats, with roots. The seat bottom will need to be replaced with fresh ply, so I'll make templates in the future. The real problem was mildew. It was IN the vinyl. No scrubbing would remove it. Ordered chrome dress up kit $45, gasket kit $45, and stainless bolt kit $45. Also purchased some red silicone 3" to 4" reducers for $11 each on ebay; the mercruiser versions were $55 a pair. Plus, silicone is sweet.Last edited by Cash68; 04-30-2010 at 07:45 AM.
-
04-30-2010, 08:54 AM #6
Banned
- Join Date
- Apr 2010
- Location
- Madison, Milwaukee, WI
- Posts
- 149
- Thanks (Given)
- 0
- Thanks (Received)
- 0
- Likes (Given)
- 0
- Likes (Received)
- 5
- Mentioned
- 0 Post(s)
- Tagged
- 0 Thread(s)
April 28th, 2010:
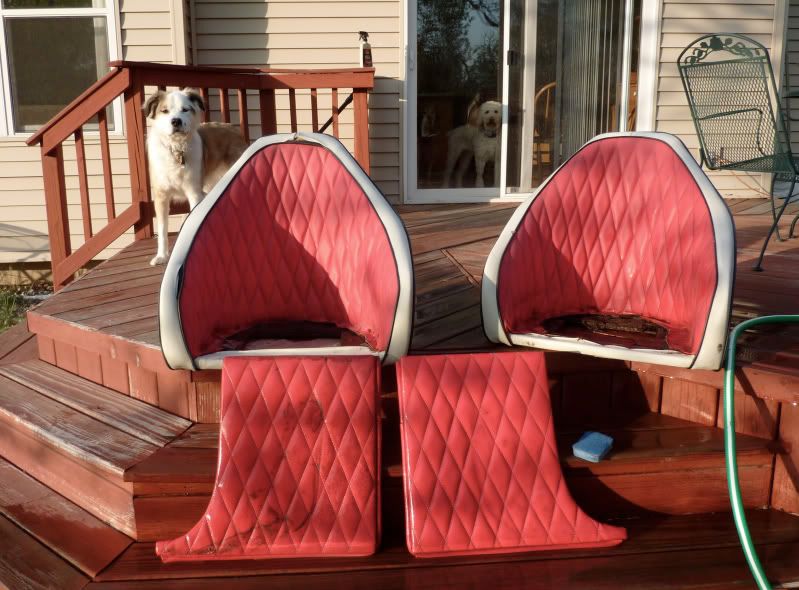
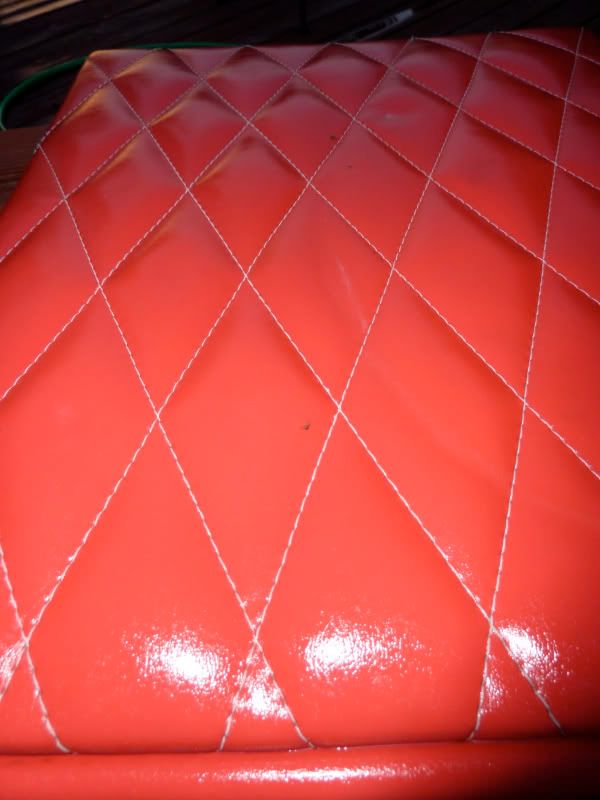
To remove the mildew from the seats, I sprayed them with Tilex and let them soak for 15 minutes, then scrubbed them with more tilex. This removed all the mildew, as well as brightened all the stitching.
After the Tilex Soak
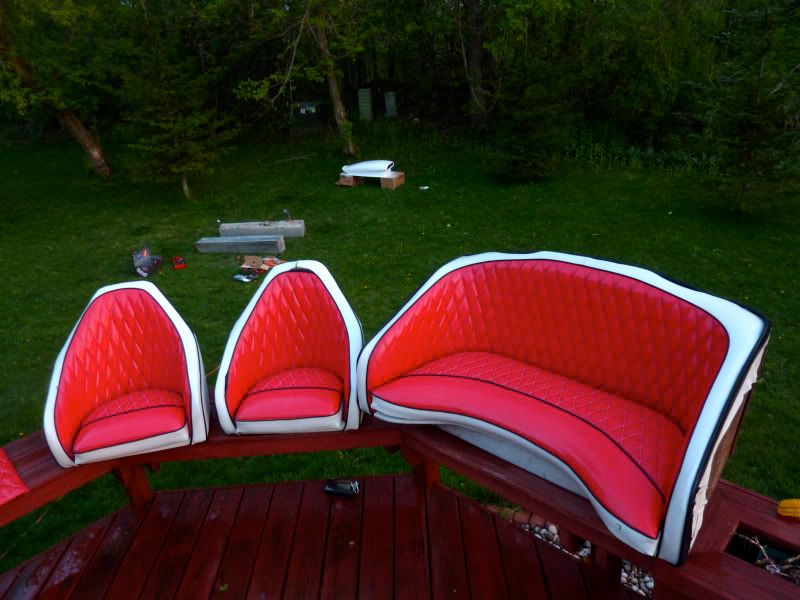
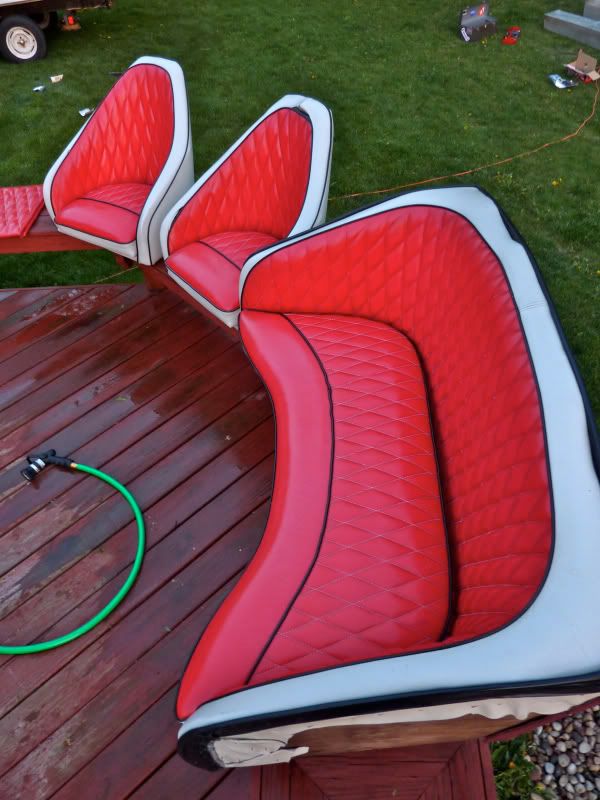
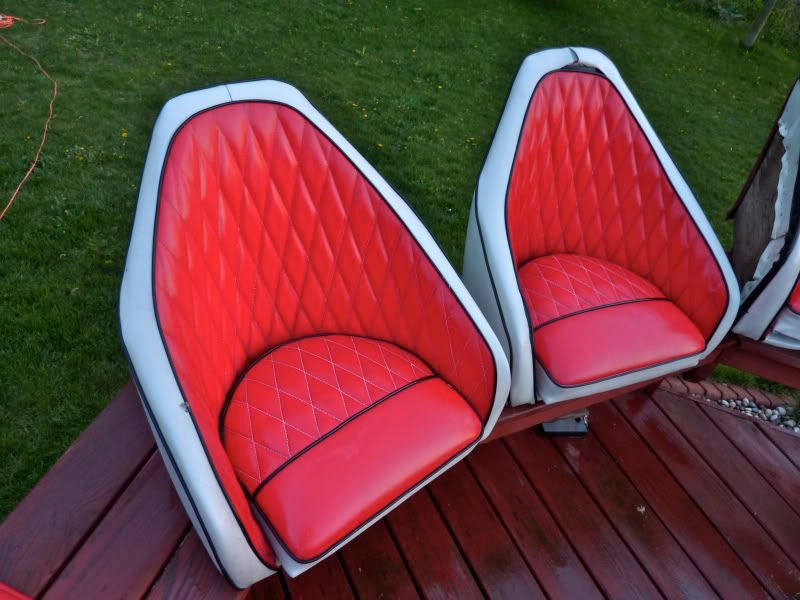
I then sprayed them with Mequirs Vinyl/Rubber Renewal product... had a lot of plasticizers, and WOW. The seats got instantly softer, and brighter!
Also started grinding down the tanks, not sure what pattern to put on them yet:
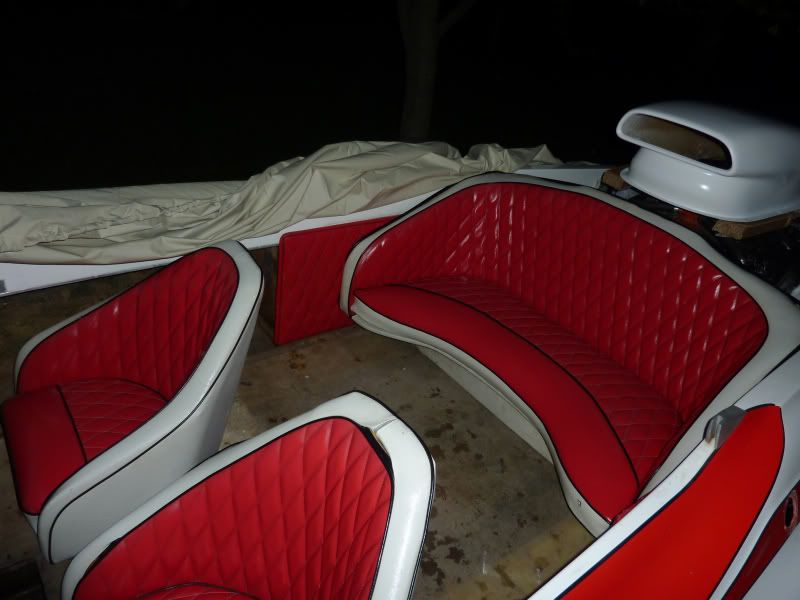
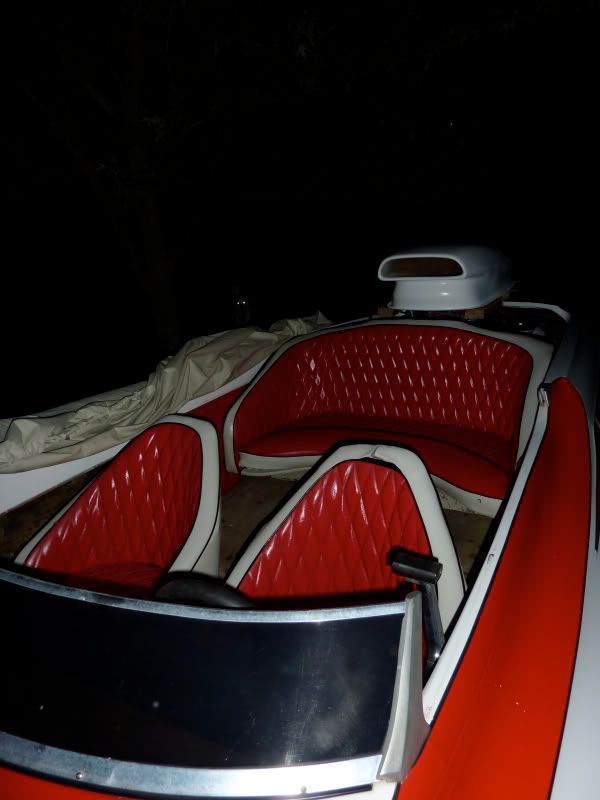
Anyway, here is the finished product, before I stitch up the sections coming apart:
-
04-30-2010, 10:23 PM #7
Member
- Join Date
- Jul 2009
- Location
- fox lake, il
- Posts
- 56
- Thanks (Given)
- 0
- Thanks (Received)
- 0
- Likes (Given)
- 0
- Likes (Received)
- 0
- Mentioned
- 0 Post(s)
- Tagged
- 0 Thread(s)
I amost bought this boat but he was unsure of the motor, but he was a mechanic? So I desided to pass. Did you get the motor to fire? I wish you the best on the boat. It is rare and awsome looking.

-
05-01-2010, 01:14 PM #8
Banned
- Join Date
- Apr 2010
- Location
- Madison, Milwaukee, WI
- Posts
- 149
- Thanks (Given)
- 0
- Thanks (Received)
- 0
- Likes (Given)
- 0
- Likes (Received)
- 5
- Mentioned
- 0 Post(s)
- Tagged
- 0 Thread(s)
Well, he seemed pretty sure that the motor was good. I never heard it fire, but he went to Jefferson looking for a car that needed a 350, in case he didn't sell this boat... so... also, 350s are dirt cheap to rebuild. I can get the block rebuilt for $300 or so. Originally Posted by vixenviper

-
05-01-2010, 01:28 PM #9
7000 RPM
- Join Date
- Apr 2002
- Location
- Wrong Irand, NY
- Posts
- 2,311
- Thanks (Given)
- 13
- Thanks (Received)
- 5
- Likes (Given)
- 53
- Likes (Received)
- 34
- Mentioned
- 0 Post(s)
- Tagged
- 0 Thread(s)
Looks Great. Good Luck w it
Formula 260ss 496HO
Bender Clan Member
-
05-01-2010, 06:38 PM #10
Junior Member
- Join Date
- Apr 2010
- Location
- guelph
- Posts
- 18
- Thanks (Given)
- 0
- Thanks (Received)
- 0
- Likes (Given)
- 0
- Likes (Received)
- 0
- Mentioned
- 0 Post(s)
- Tagged
- 0 Thread(s)
boat
looks good, I have a 76 with 460 and jet drive tho, Iam doing the same thing as you, Ill have to post some pics now!!
-
05-01-2010, 08:00 PM #11
5000 RPM
- Join Date
- Nov 2009
- Location
- New Port Richey Florida
- Posts
- 591
- Thanks (Given)
- 0
- Thanks (Received)
- 1
- Likes (Given)
- 0
- Likes (Received)
- 8
- Mentioned
- 0 Post(s)
- Tagged
- 0 Thread(s)
Lookin Good Cash
, amazing what a little elbow grease will do, you gotta love the classic lines of the old Sleeks , I really hated to cut mine up but the original design wasn't very good for flats fishing, I've still got the deck and windshield if you need the parts, the alum. side rails look decent but the smoked plexiglass is weathered and the port side is cracked where it attaches at the rear but they could be used for patterns, if you want them just cover the shipping, good luck with your project and keep posting the progress, have you started tearing into that floor and stringer yet??? there wasn't much left of mine after 34 years with water trapped in there
 also you might want to consider an extra bulkhead under the front deck and some small braces at the sides of the cockpit area, it would only add a few pounds but help stop the flexing thats causing the cracks where the top cap meets the hull, just a thought.
-
05-03-2010, 11:53 PM #12
Banned
- Join Date
- Apr 2010
- Location
- Madison, Milwaukee, WI
- Posts
- 149
- Thanks (Given)
- 0
- Thanks (Received)
- 0
- Likes (Given)
- 0
- Likes (Received)
- 5
- Mentioned
- 0 Post(s)
- Tagged
- 0 Thread(s)
5/3/10: Finished buzzing the gas tanks. Going to get some clear tomorrow to seal them in their shiny state. Removed some of the rotten wood from the seat cushions, cut new ones out. Need to sand them tomorrow at work, then restaple them. No pictures, sorry guys. Good news is I got a TON of goodies in the mail today.
-
05-21-2010, 12:20 PM #13
Banned
- Join Date
- Apr 2010
- Location
- Madison, Milwaukee, WI
- Posts
- 149
- Thanks (Given)
- 0
- Thanks (Received)
- 0
- Likes (Given)
- 0
- Likes (Received)
- 5
- Mentioned
- 0 Post(s)
- Tagged
- 0 Thread(s)
5/19/10: Been raining for weeks. Unable to work on it til now. Decoded the engine this morning.
*0508TKT is the block stamping number. I can't make out the first digit which shows the location. This decodes to 1978 350 SBC, which makes sense since the boat is a 78. It was a truck engine long, built on May 8th rated at 165hp in stock truck form. 4" bore, 3.48" stroke, with a 5.7" rod.
The heads are stamped 333882, which means the the intake valves are 1.94s, and the exhausts are 1.5s with a 76cc chamber. This is good news, since they aren't anemic truck heads.
I have no idea about the cam, but it does have an Weiand X-Celerator aluminum intake manifold, and a holley 650 carb, both in great shape. I purchased a dress up kit, and a stainless hardware kit so every bolt will be stainless. I'm hoping it makes around 250ish; anything more than that from what other have told me it'll be likely to grenade the lower unit.
Took off all accessories; powersteering, alternator, manifolds, waterpump, etc... degreased, ready for paint. Here's some process shots:

Crusty, but took pics of the firing order for reference

Assembly lube still inside the engine; hasn't been run much at all.

Intake just sitting on there while removing the rest of the accessories.

That's a beer in the intake.Last edited by Cash68; 05-10-2018 at 04:26 PM.
-
05-21-2010, 06:19 PM #14
5000 RPM
- Join Date
- Aug 2001
- Location
- LA, CA
- Posts
- 971
- Thanks (Given)
- 0
- Thanks (Received)
- 0
- Likes (Given)
- 0
- Likes (Received)
- 1
- Mentioned
- 0 Post(s)
- Tagged
- 0 Thread(s)
Good for 20hp on a hot day! Originally Posted by Cash68
-
05-21-2010, 06:37 PM #15
5000 RPM
- Join Date
- Jul 2006
- Location
- Walled Lake, MI
- Posts
- 928
- Thanks (Given)
- 0
- Thanks (Received)
- 0
- Likes (Given)
- 0
- Likes (Received)
- 2
- Mentioned
- 0 Post(s)
- Tagged
- 0 Thread(s)
Nice! Awesome looking boat, I can't believe how much the Tilex cleaned up the seats, going to give that a shot on mine


 Reply With Quote


