

User Tag List
 Thanks:
  Likes:
Results 1 to 15 of 54
Thread: my 82' Vector rebuild
-
06-01-2015, 08:29 PM #1
 Member
- Join Date
- Jun 2014
- Location
- Petawawa, ON
- Posts
- 90
- Thanks (Given)
- 1
- Thanks (Received)
- 6
- Likes (Given)
- 4
- Likes (Received)
- 29
- Mentioned
- 0 Post(s)
- Tagged
- 0 Thread(s)
my 82' Vector rebuild
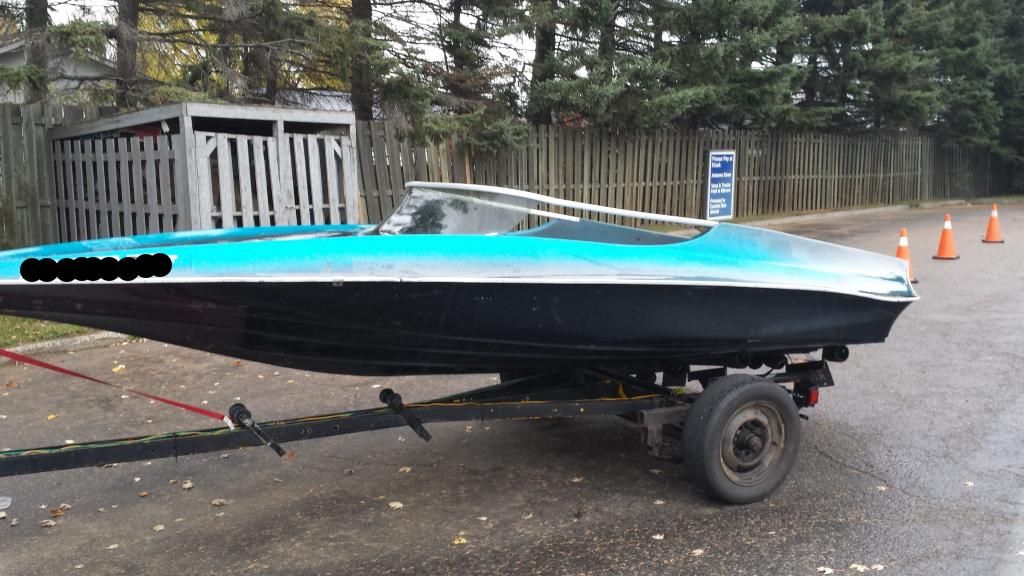
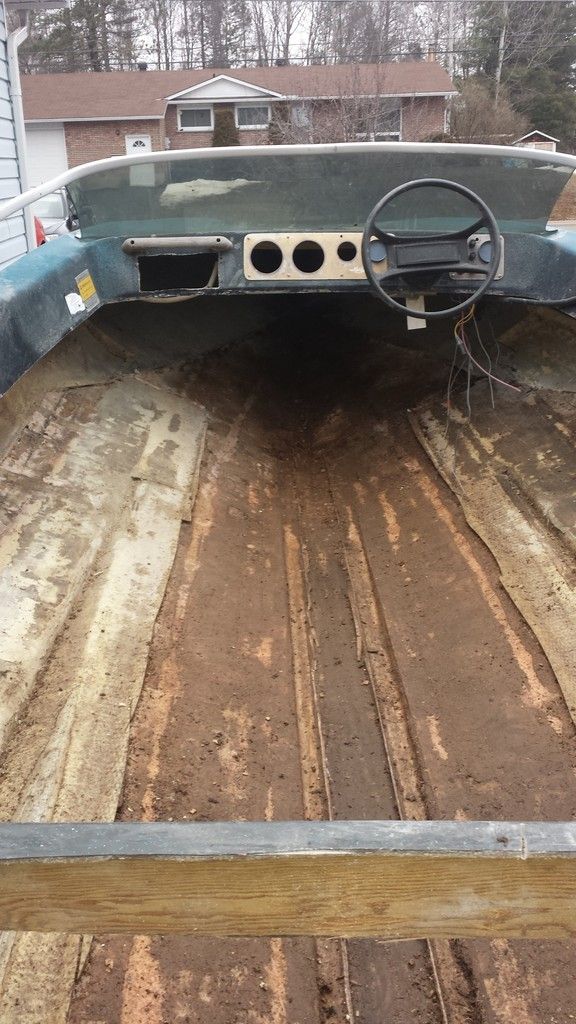
Here are a few pictures of the start of my 82' vector rebuild. I picked the boat up last fall after driving wayyy to far to get it. It was then promptly buried in a few feet of snow until this spring when I started to cut what little was left of the core and transom out of it.
I worked on it for a few days while I waited for my grinding disc to show up from express. There was a miscommunication (probably on my end) and they shipped me the wrong one. No big deal, they were amazing to deal with and had a new disc in the mail before I could get the incorrect one in the mail to return. Couldn't have asked for better customer service.
2 days after it showed up I left on a 25 day work trip down under.
I have recently come back and started making a lot of noise and dust.
Here it is on the way home, yes the trailer is about as crappy as it looks. I will address that.
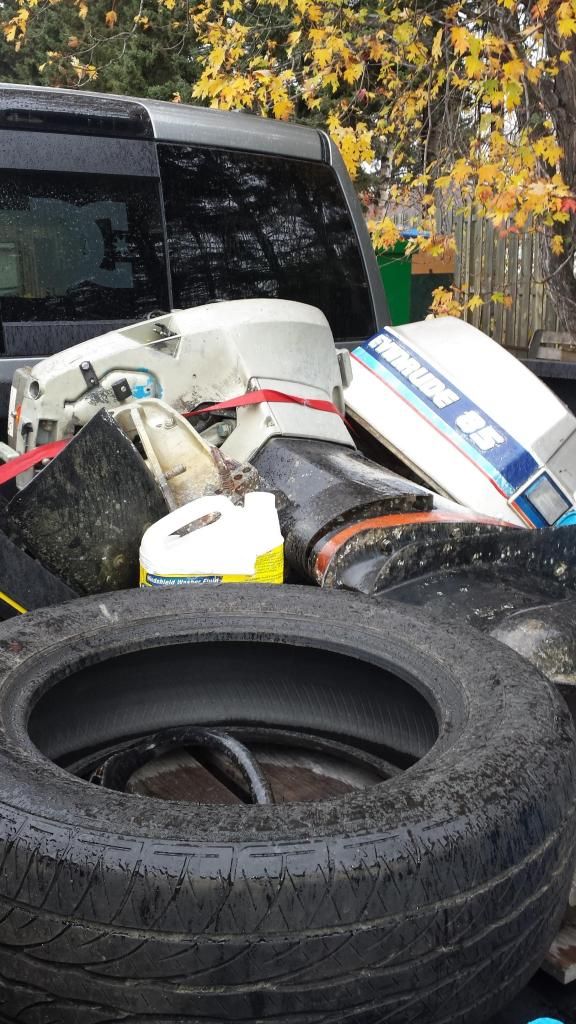
The motor that came with it, that I was able to sell for 1/2 of what I paid for the entire thing.
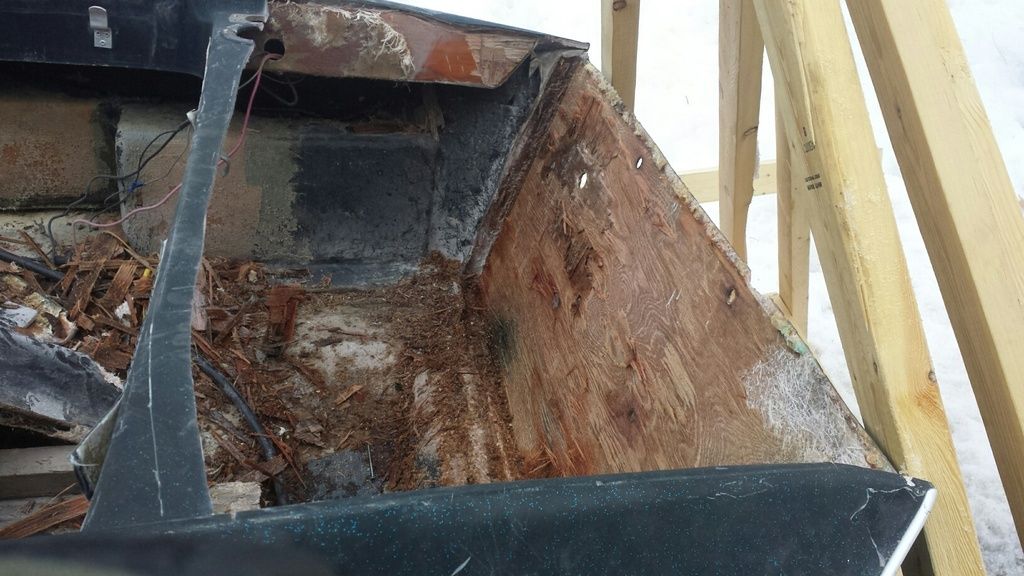
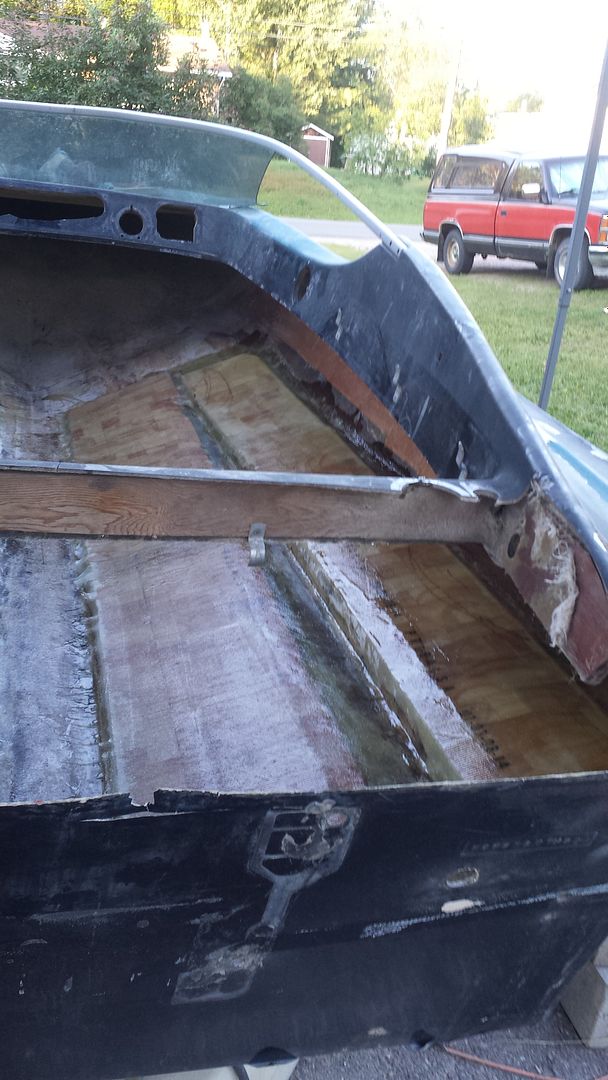
The beginning of the transom removal, the water in the transom wood was frozen, making it a bit harder to tear down that it should have been.
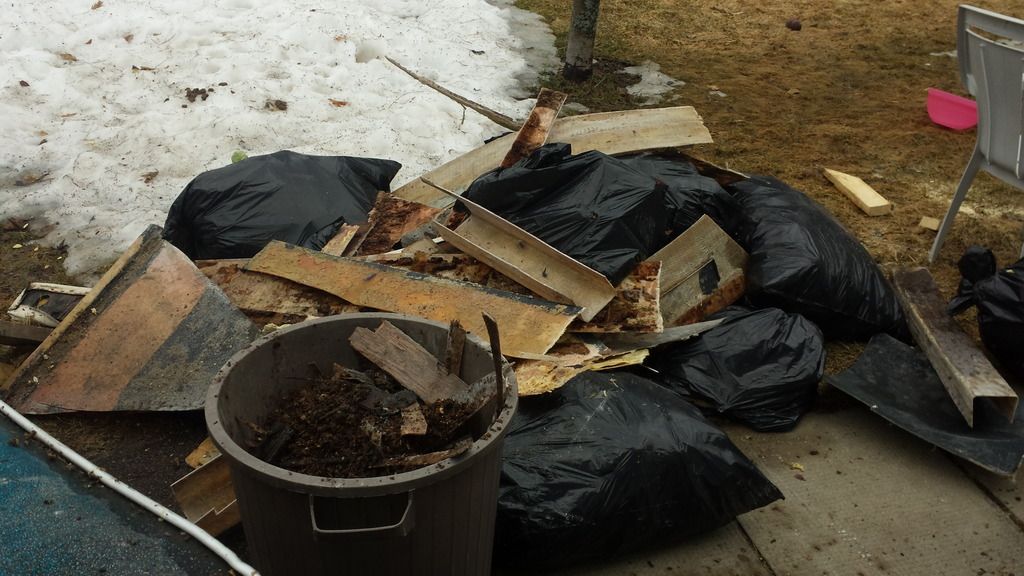
Pile of transom wood and other assorted garbage that had made its way into the boat before I covered it up for winter.
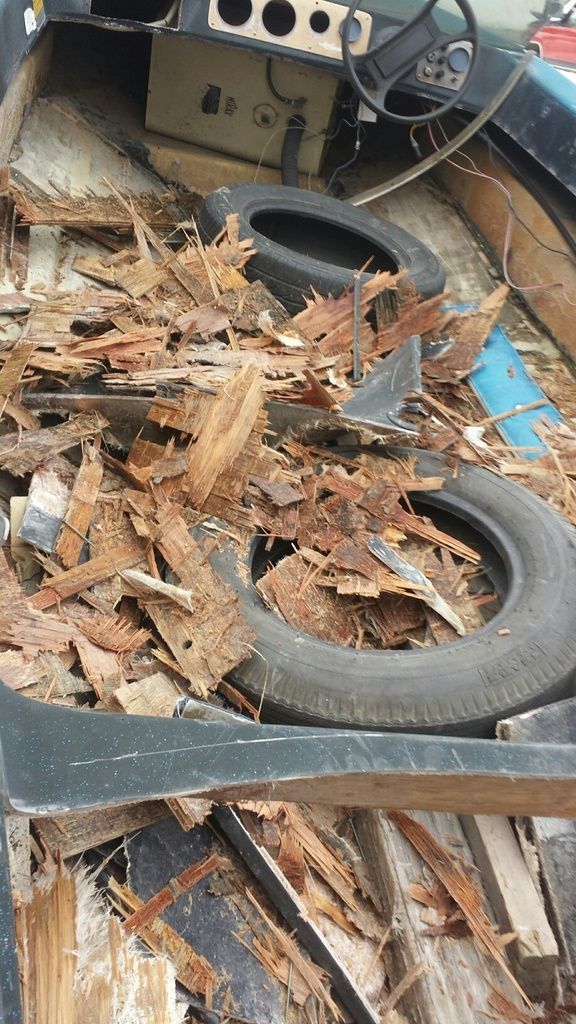
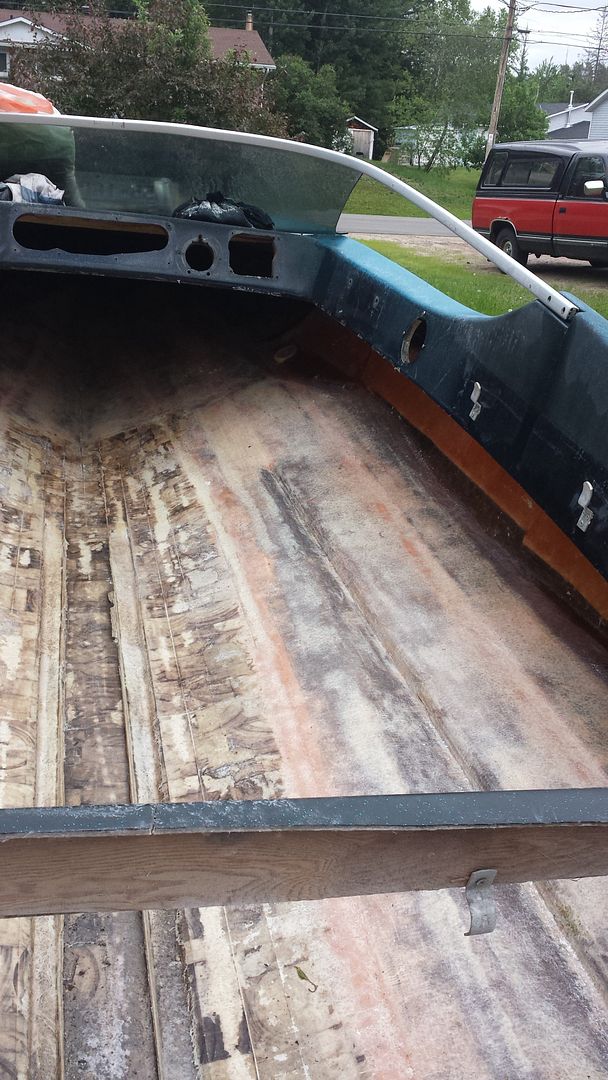
After the core was swept out of the hull.
I didn't expect to make such a large pile of garbage, but the float boxes were a PITA.
First time playing with my grinding disc.
After hearing about how much everyone hates grinding under the deck I decided I would start there, it can only get easier right????
The plans for the boat are a basic balsa core / plywood transom with some decent knee braces and a splash well delete.
I managed to pick up a 1985 150XR2 with a blown head gasket and no lower unit for pretty cheap. So if I get the boat back together this summer it will just get re assembled and run until winter when I can hopefully do some work to the motor.
Should be placing an order for core/ glass supplies this week.Last edited by canuckr; 06-01-2015 at 08:33 PM.
-
 Deznuts3570 thanked for this post
-
06-01-2015, 08:39 PM #2
7000 RPM
- Join Date
- Mar 2008
- Location
- Wentzville.MO 40 "miles west of St Louis"
- Posts
- 2,920
- Mentioned
- 0 Post(s)
- Tagged
- 0 Thread(s)
I look forward to lots of pictures following this rebuild
-
06-08-2015, 08:24 PM #3
Member
- Join Date
- Jun 2014
- Location
- Petawawa, ON
- Posts
- 90
- Thanks (Given)
- 1
- Thanks (Received)
- 6
- Likes (Given)
- 4
- Likes (Received)
- 29
- Mentioned
- 0 Post(s)
- Tagged
- 0 Thread(s)
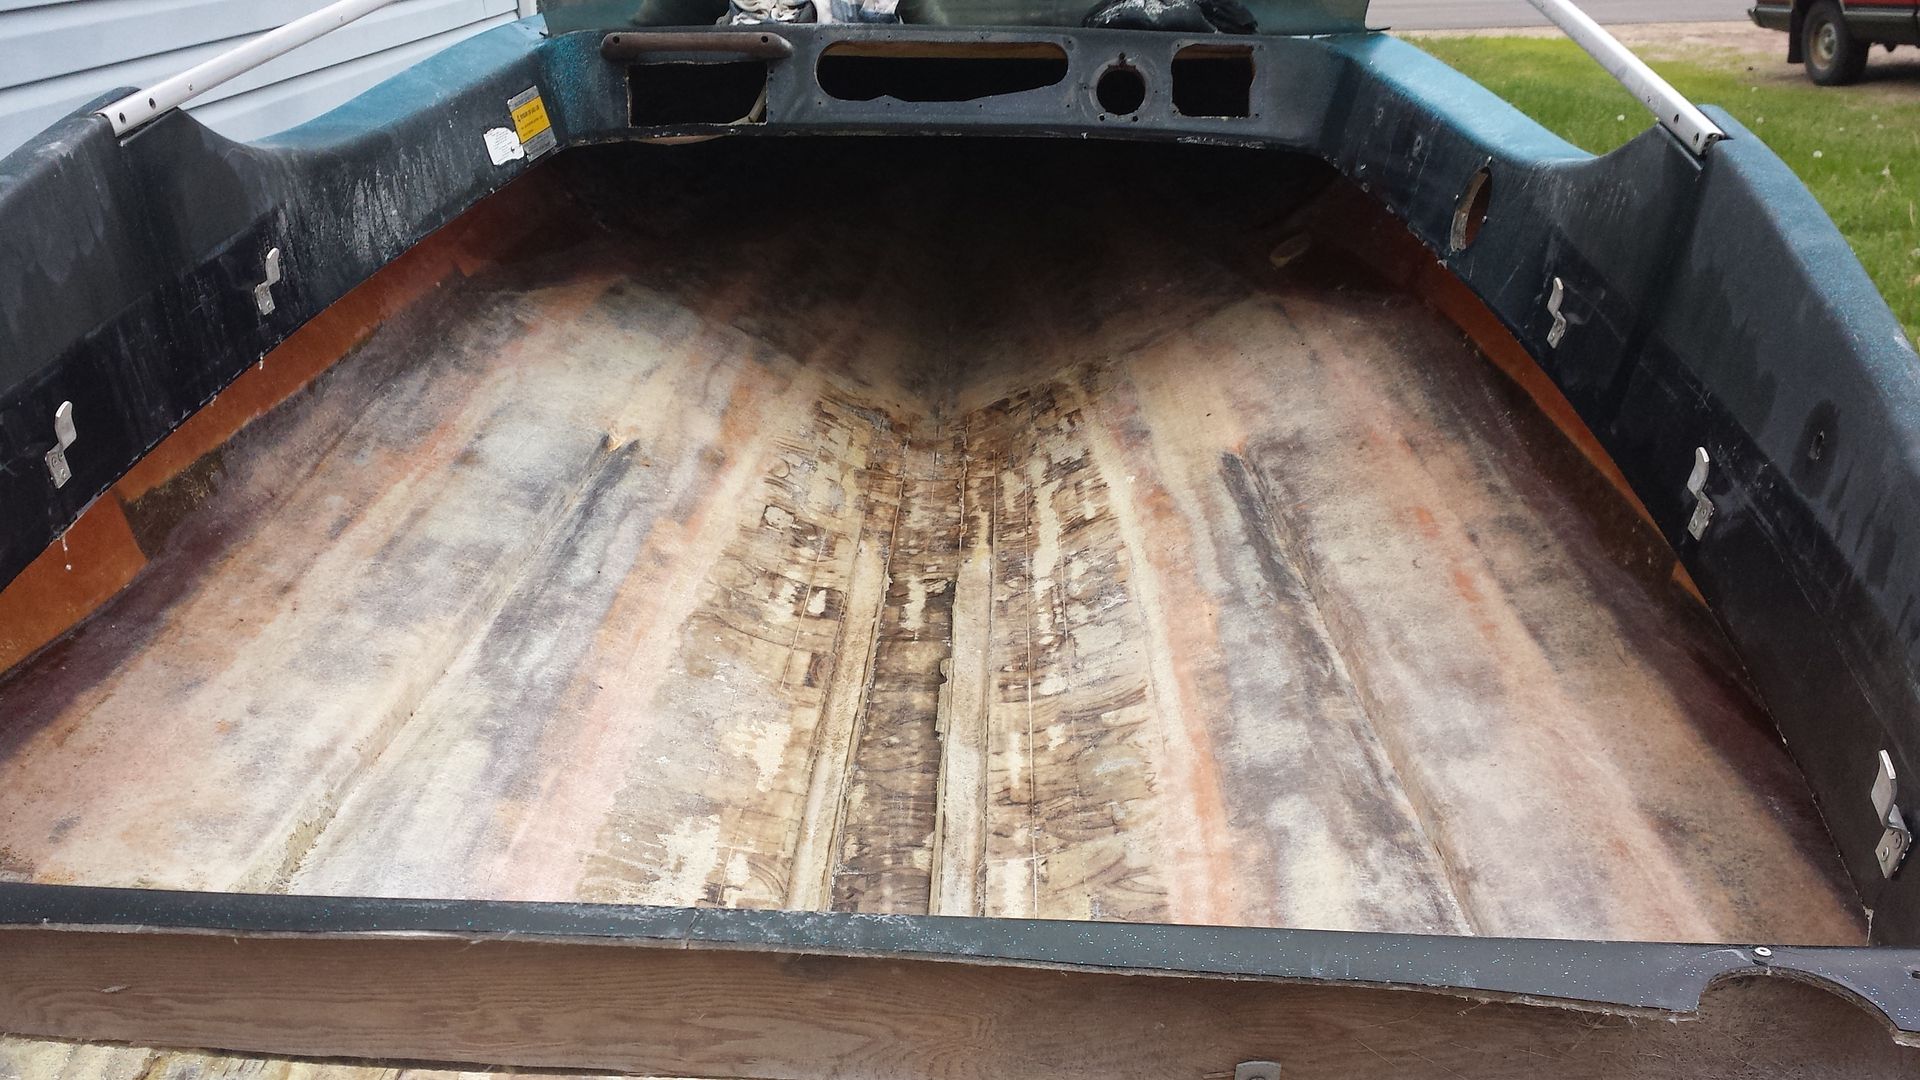
Managed to sneak in a few more hours of grinding on the boat.
Managed to get both sides outwards from the 2nd strake (maybe) ground out. Will get the center ground out this week I hope.
A few questions for guys that have done vectors regarding the amount of supplies.
The plan is vacuum bag the core into 2 layers of 2oz CSM on the bottom, then cover in 1 layer of 1708. The transom will be 3 layers of 1/2" ply with a layer of 2oz between each board.
I am about to make an order I am looking at
200 sq ft of 2 oz CSM
150 sq ft of 1708
100 sq ft of 1208 for the stringers/ floor
10 gallons of PE resin
5 gals of cabosil
Balsa of course.
I am hoping I will have enough to tab in the transom, as well as make a deck for the splash well delete..
Do these numbers seem right?
How much acetone are you guys going through?
-
06-22-2015, 09:02 PM #4
Member
- Join Date
- Jun 2014
- Location
- Petawawa, ON
- Posts
- 90
- Thanks (Given)
- 1
- Thanks (Received)
- 6
- Likes (Given)
- 4
- Likes (Received)
- 29
- Mentioned
- 0 Post(s)
- Tagged
- 0 Thread(s)
Well started to laminate the transom together this evening. I left it taller than original. What is the general consensus and raising the transom a few inches? I will be running a 20" mid, don't see a 15" in my future any time soon.
I plan on running a small set back manual jack plate. Is it worth raising the transom a few inches?
-
06-22-2015, 09:55 PM #5
7000 RPM
- Join Date
- Mar 2008
- Location
- Wentzville.MO 40 "miles west of St Louis"
- Posts
- 2,920
- Mentioned
- 0 Post(s)
- Tagged
- 0 Thread(s)
I made mine 3" taller because seems like every jackplate ya see on a Stream is cranked all the way up and they still want more height.
Heres my rebuild
http://www.screamandfly.com/showthre...restore-thread
-
06-23-2015, 07:54 PM #6
Member
- Join Date
- Jun 2014
- Location
- Petawawa, ON
- Posts
- 90
- Thanks (Given)
- 1
- Thanks (Received)
- 6
- Likes (Given)
- 4
- Likes (Received)
- 29
- Mentioned
- 0 Post(s)
- Tagged
- 0 Thread(s)
Thanks.
I have read your rebuild a couple of times already.
I think I will raise the transom the 2-3 inches. Have you had your boat in the water yet? Any issues with swamping the back end when you decelerate?
-
06-25-2015, 05:42 PM #7
7000 RPM
- Join Date
- Mar 2008
- Location
- Wentzville.MO 40 "miles west of St Louis"
- Posts
- 2,920
- Mentioned
- 0 Post(s)
- Tagged
- 0 Thread(s)
Never had it out yet. Still building it. But with a splashwell 3" taller and 2' longer can only keep more water out. Anyway these boats need a bit of throttle rite before the water comes to the back of the boat iv read.
-
06-29-2015, 08:05 PM #8
Member
- Join Date
- Jun 2014
- Location
- Petawawa, ON
- Posts
- 90
- Thanks (Given)
- 1
- Thanks (Received)
- 6
- Likes (Given)
- 4
- Likes (Received)
- 29
- Mentioned
- 0 Post(s)
- Tagged
- 0 Thread(s)
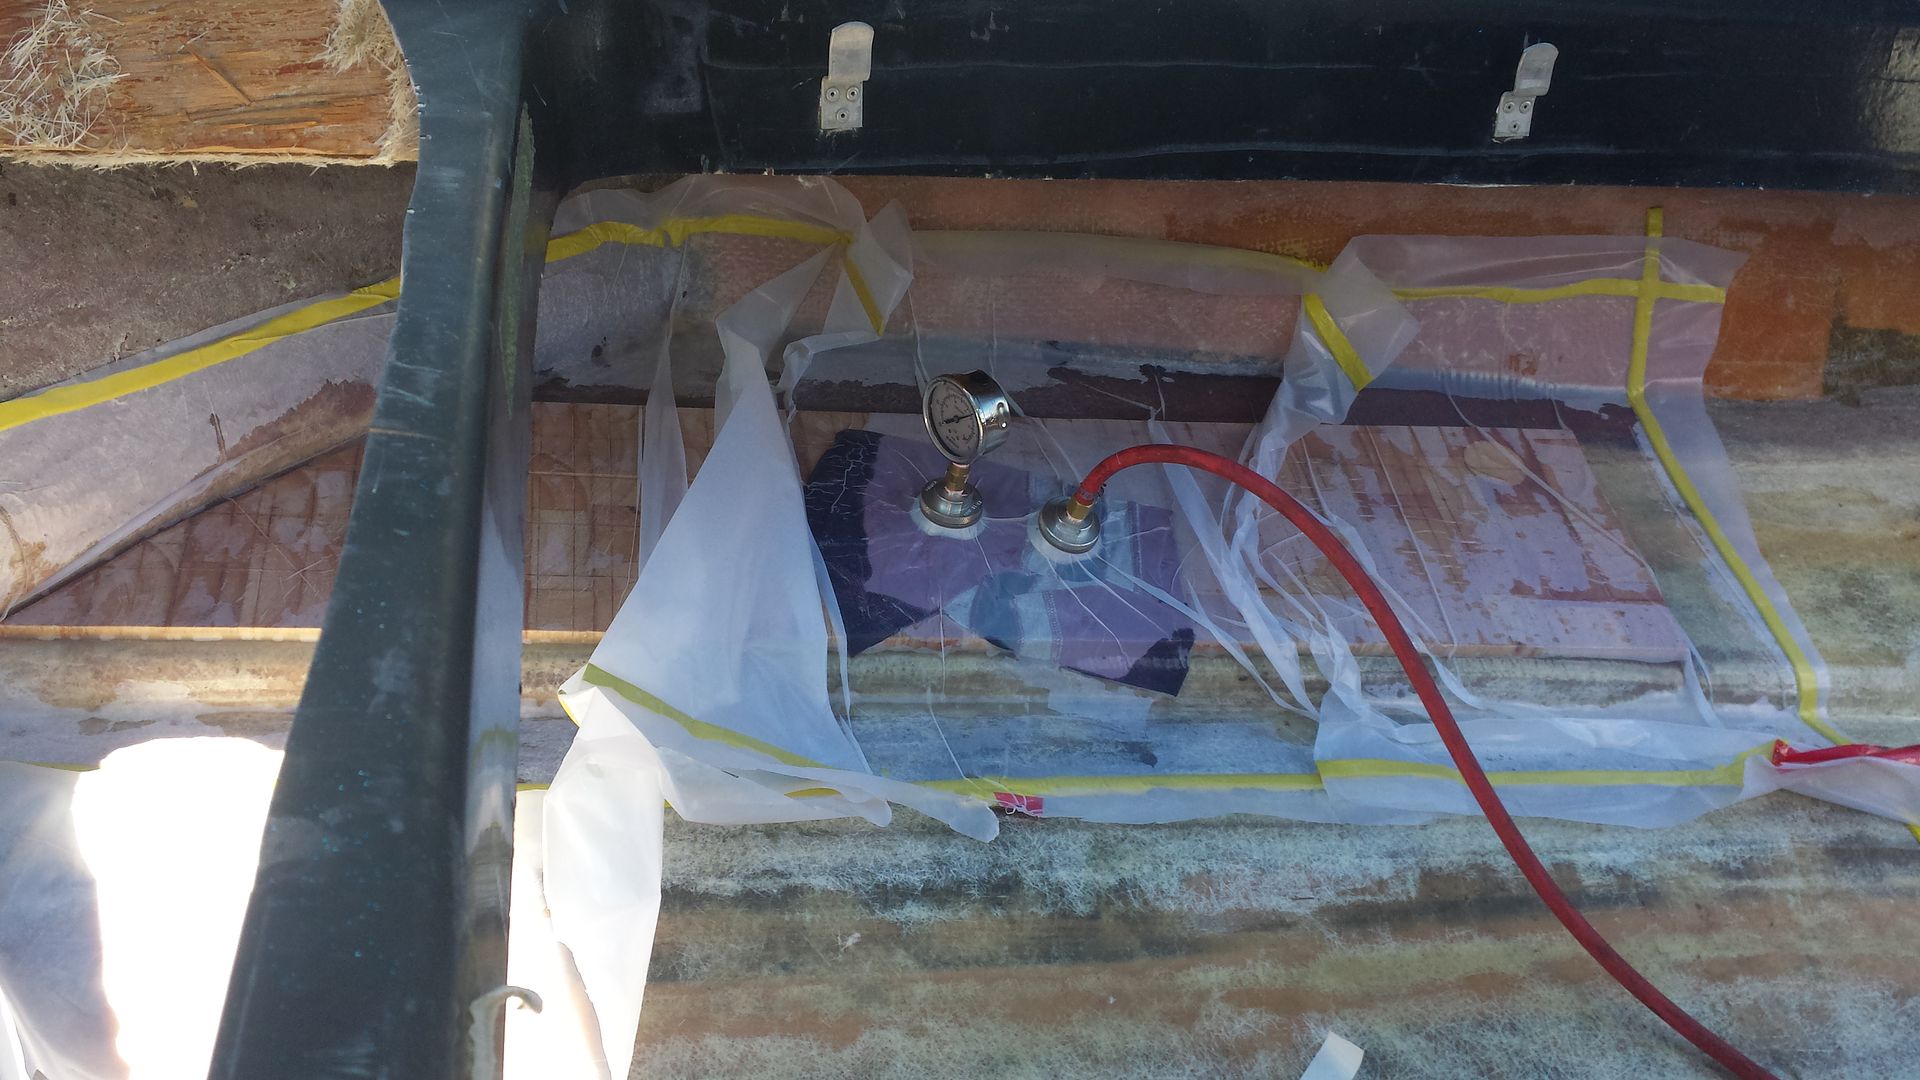
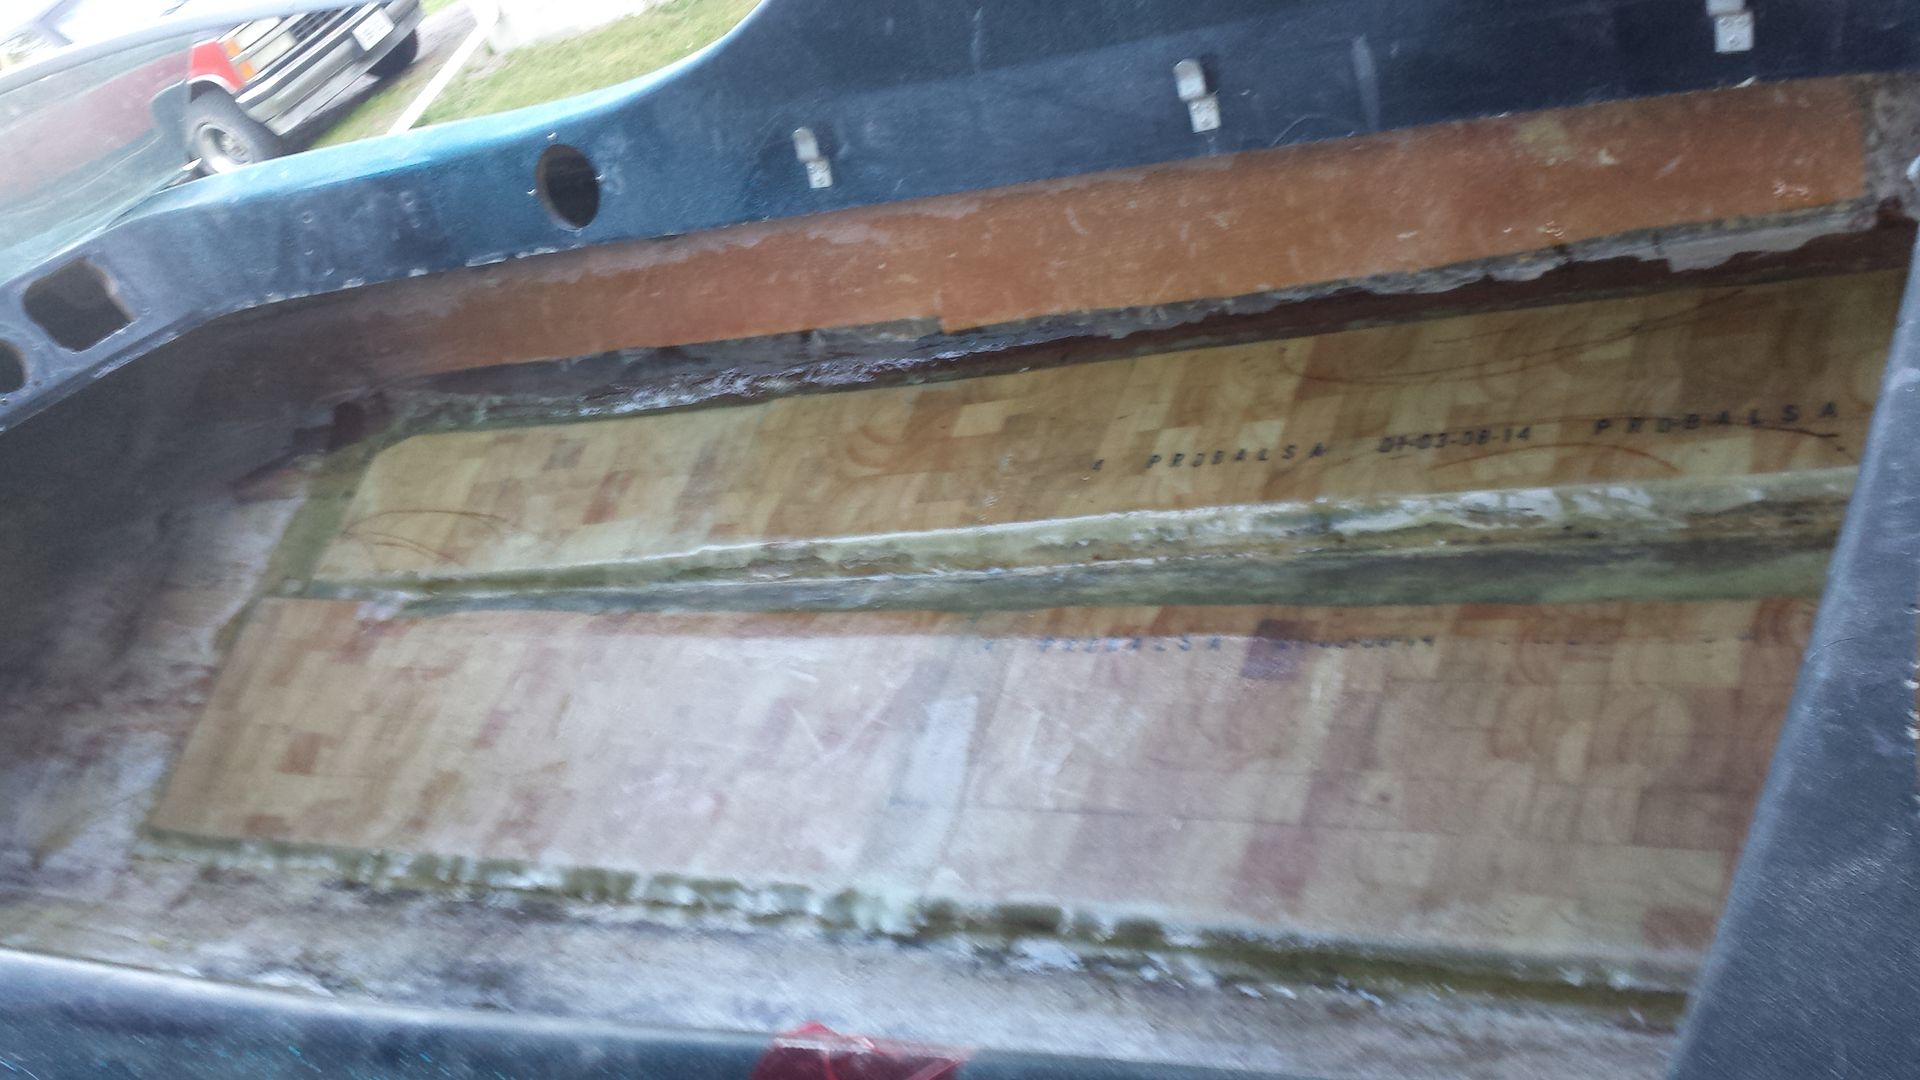
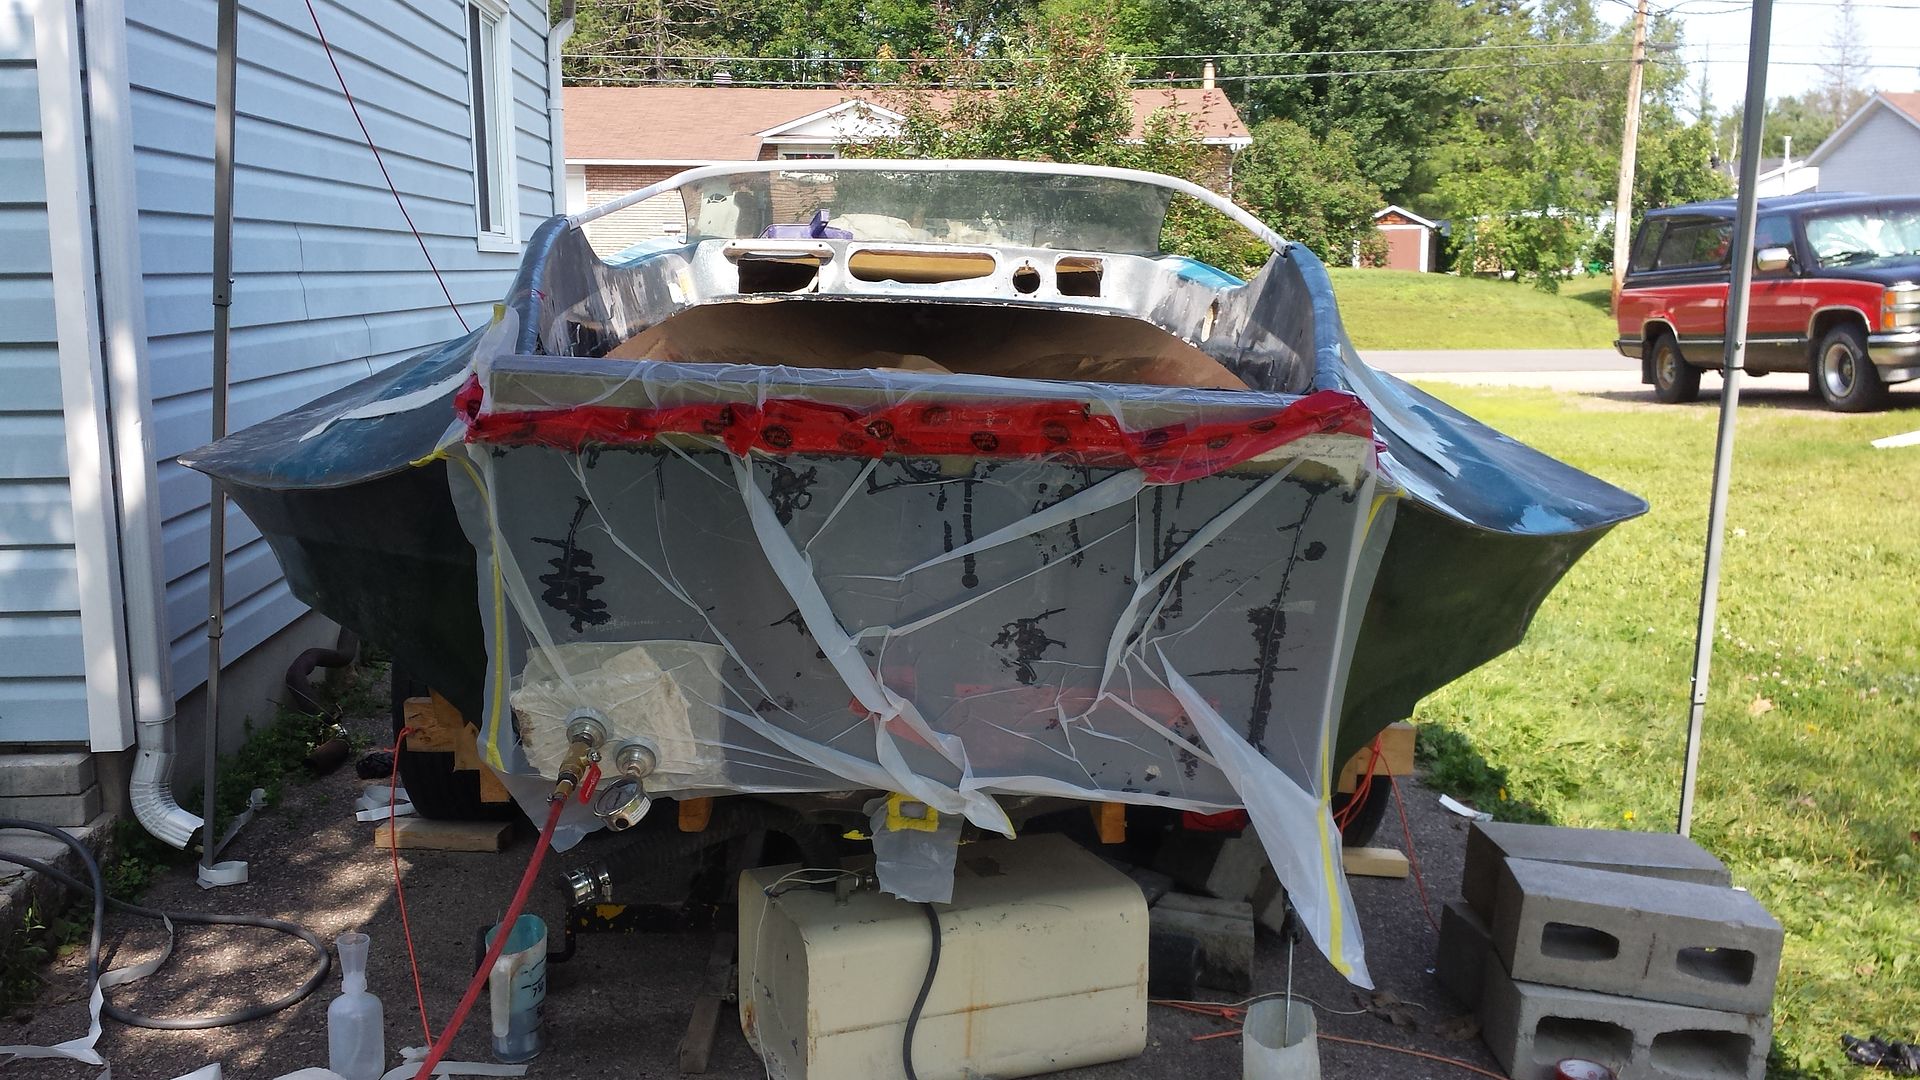
Well today was core day, at least for a little bit. I managed to get the core in the outer wings in and covered with a layer of 1708.
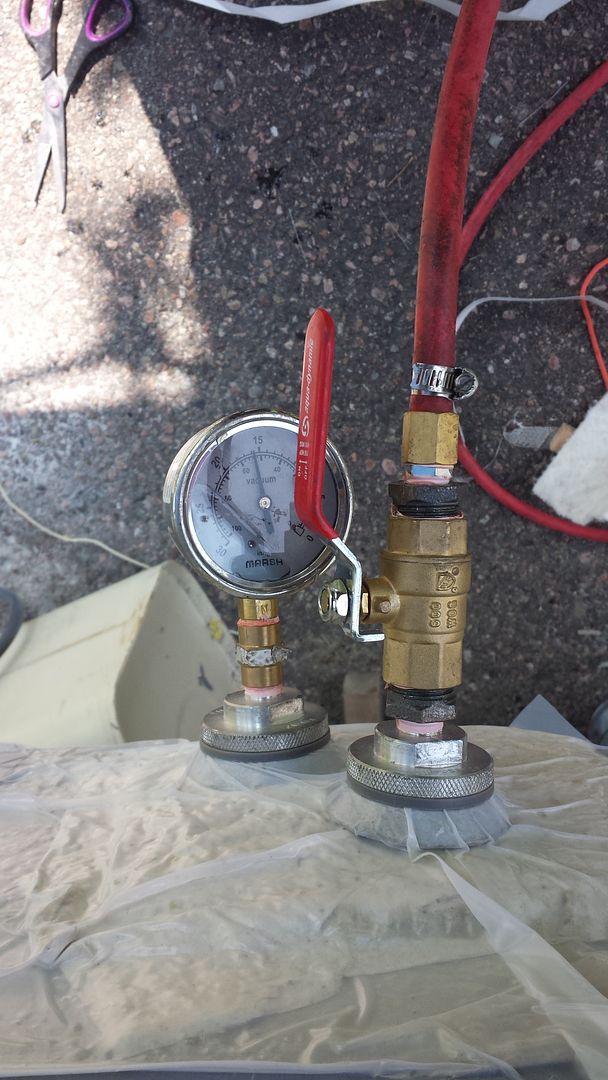
I picked up a vacuum pump a few weeks ago for this, as well as a few other projects I have in mind later.
So being the cheap ass that I am, I had read that using drop cloth for bagging film works well, so in my head I thought " if drop cloth works well, vapor barrier has to work even better......"
IT DOESN'T, the bagging tape doesn't stick to it very well, I did a few a tests in the garage and it seemed alright, but when it came down to it the tape didn't stick at all and I couldn't stop the vacuum leak. By the time I realized it I ran around to grab some weight to throw on the core. Needless to say I have a few spots that will need to get drilled and back filled with resin.....
So after screwing up the entire one side I decided to go with a smaller section of core and try again with the heavy duty drop cloth. Worked great, pulled vacuum almost instantly.
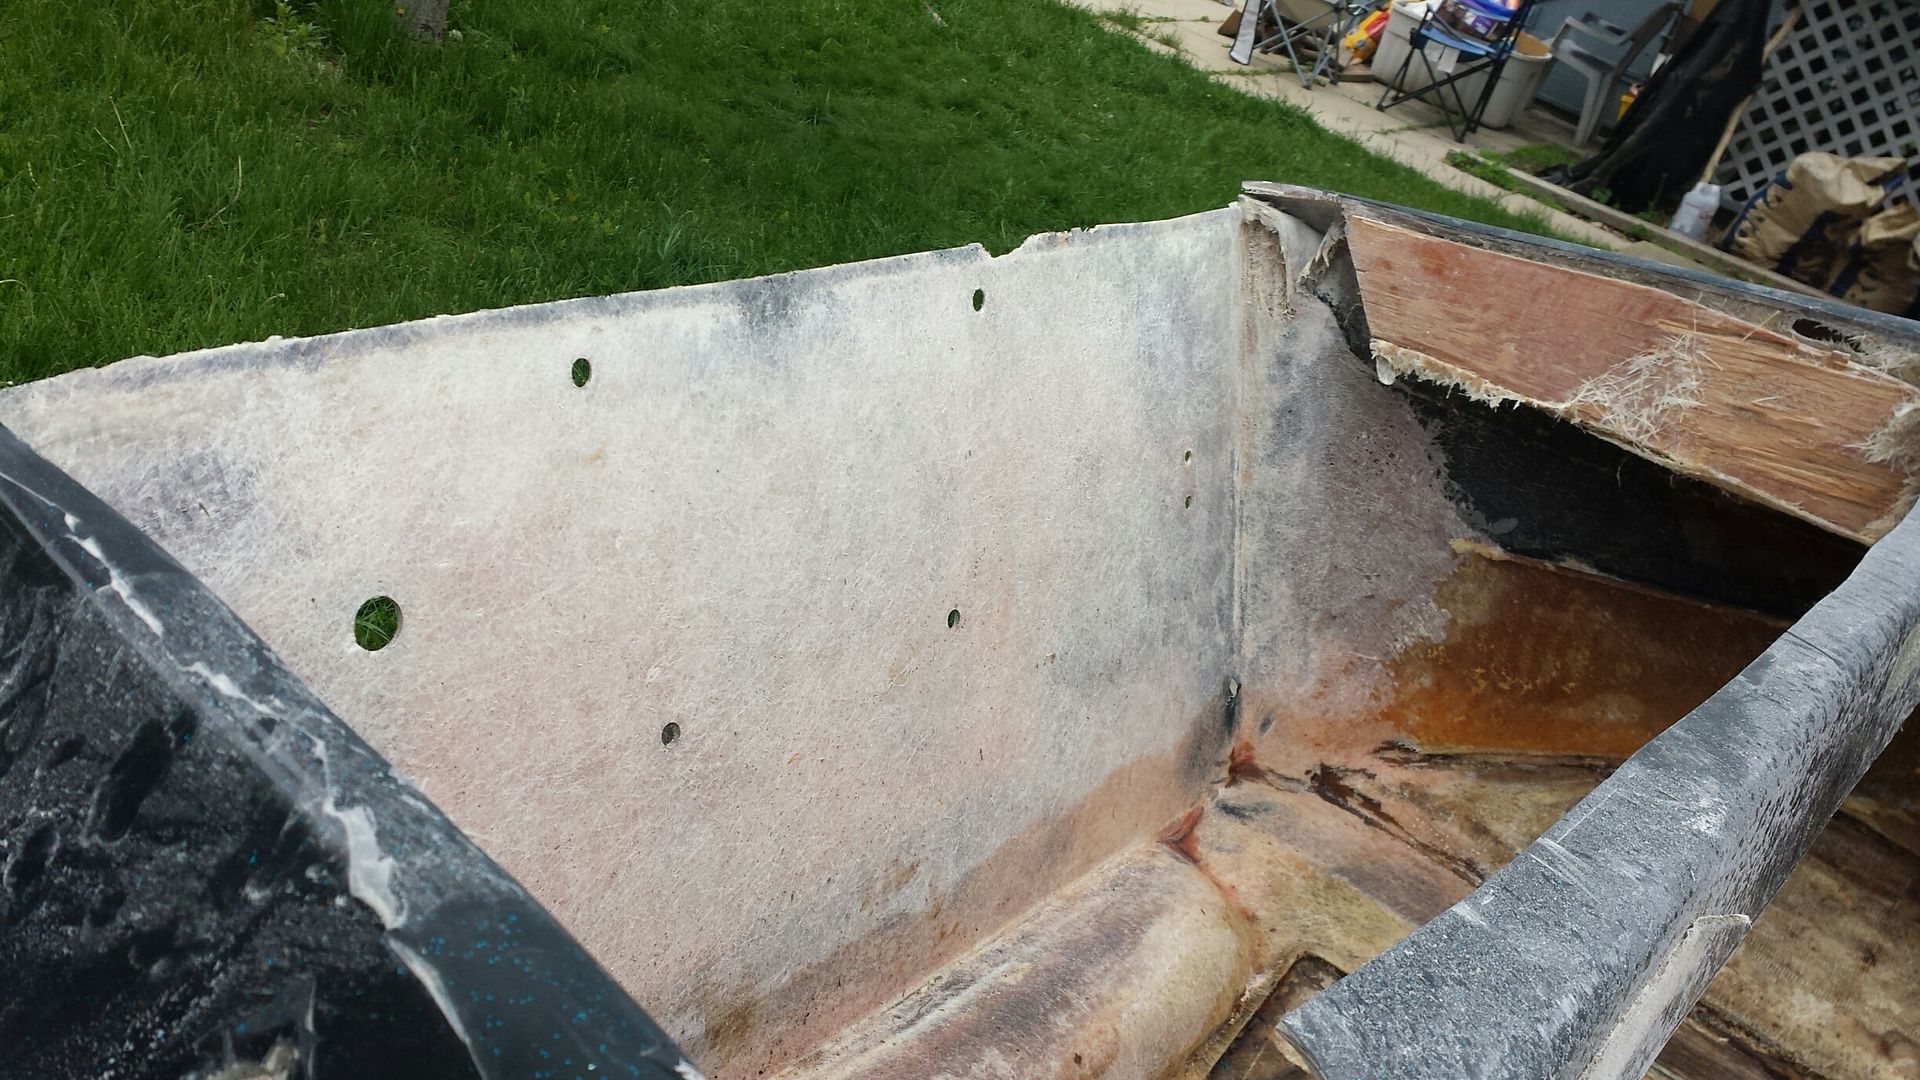
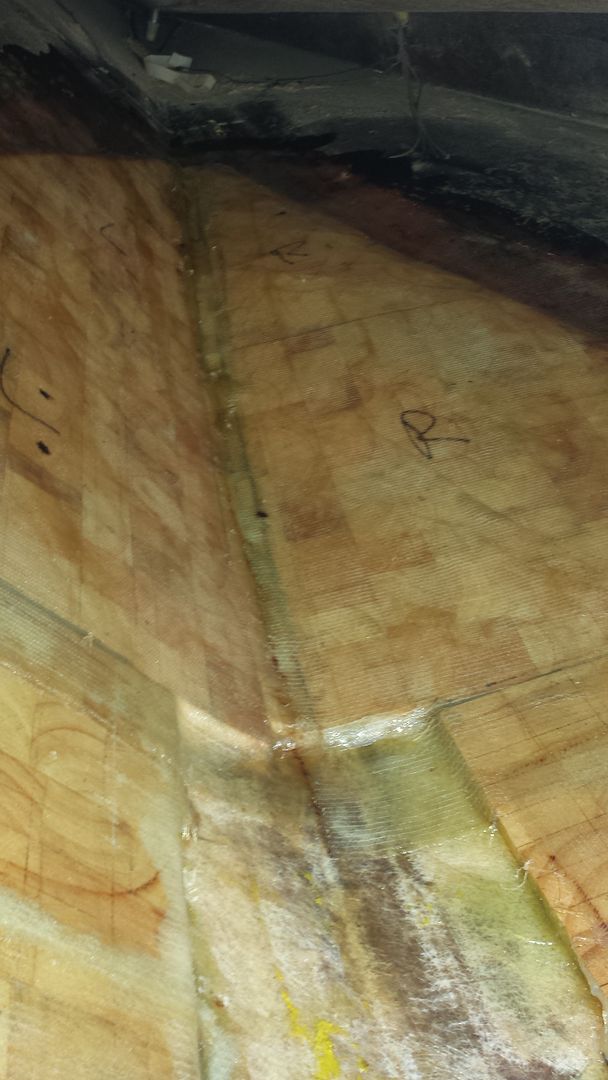
Here is the screwed up side, you can see the layers of duct tape I was using after in an attempt to seal the bag up...... STUPID.
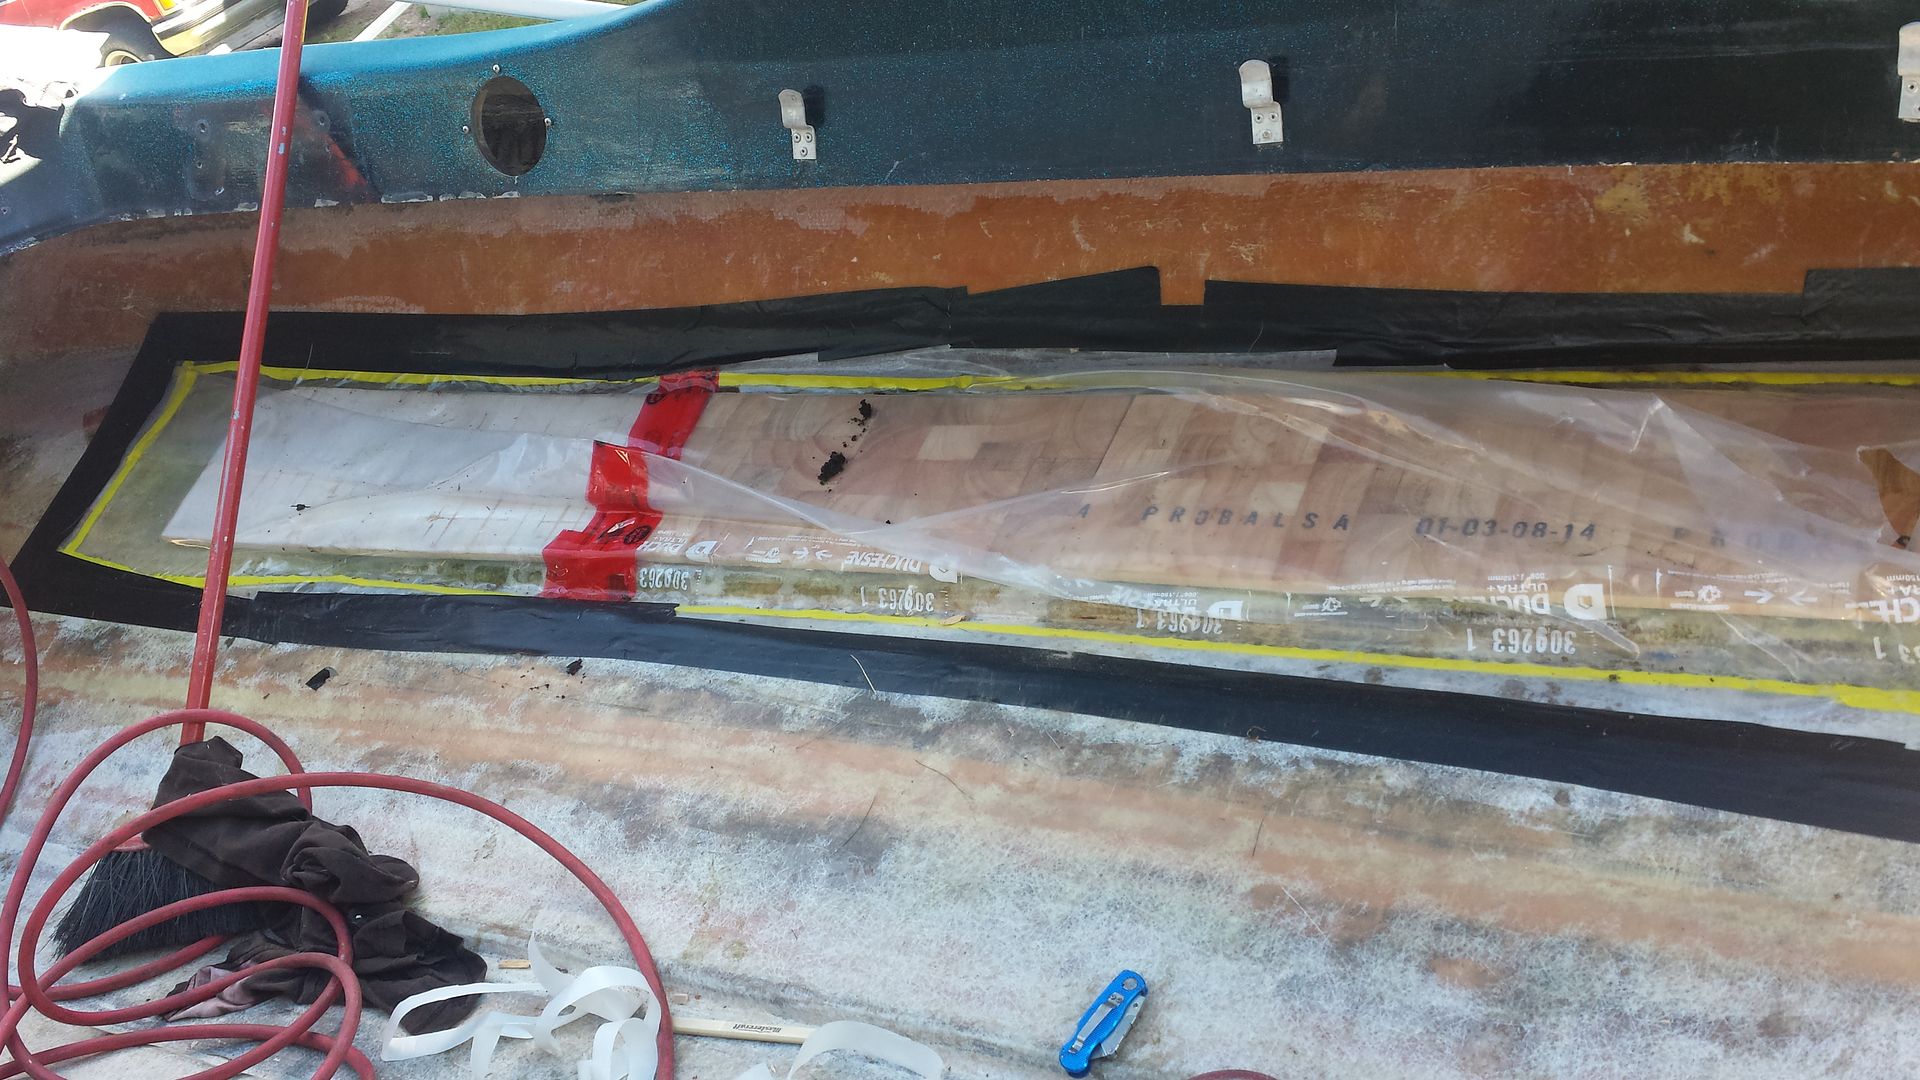
Here is the first small section of core I did after. I just took a piece of vapor barrier, rolled it up, stabbed a load of holes in it to make a bleeder layer and used a rag as a breather. I didn't care to suck all the extra resin out, just wanted the core stuck down.
I bedded the core into 2 layers of 2oz. CSM, then bagged it, and before I left for the evening I put a layer of 1708 over the top, because I am working on the boat outdoors and they are calling for rain in the next few days.
I ended up getting both wings done, but by the time I had everything cleaned up I didn't think to take some pictures.
-
 roadkill636 liked this post
-
07-02-2015, 08:10 PM #9
Member
- Join Date
- Jun 2014
- Location
- Petawawa, ON
- Posts
- 90
- Thanks (Given)
- 1
- Thanks (Received)
- 6
- Likes (Given)
- 4
- Likes (Received)
- 29
- Mentioned
- 0 Post(s)
- Tagged
- 0 Thread(s)
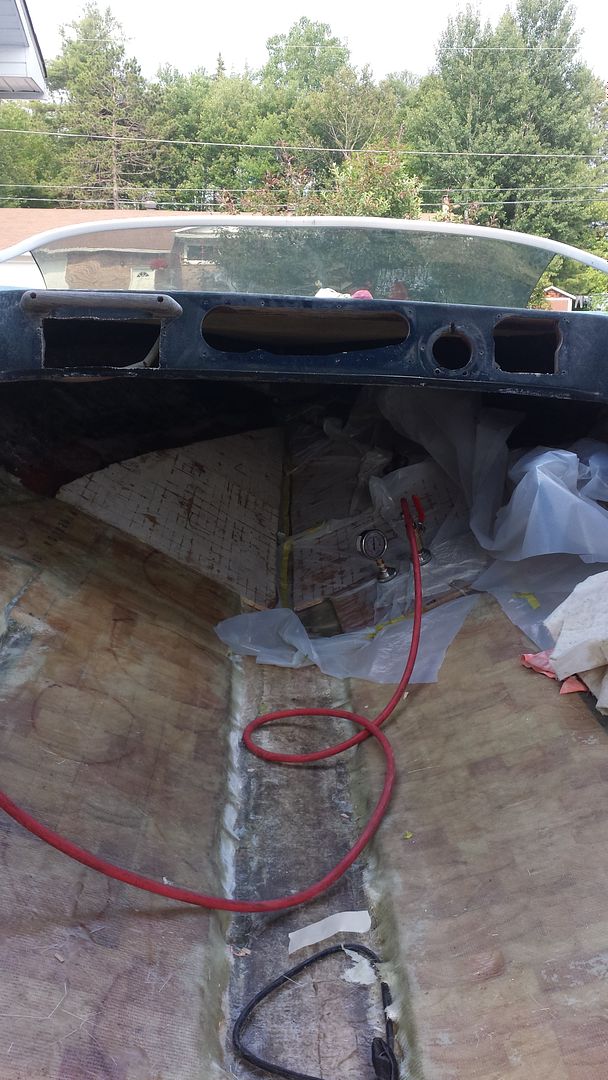
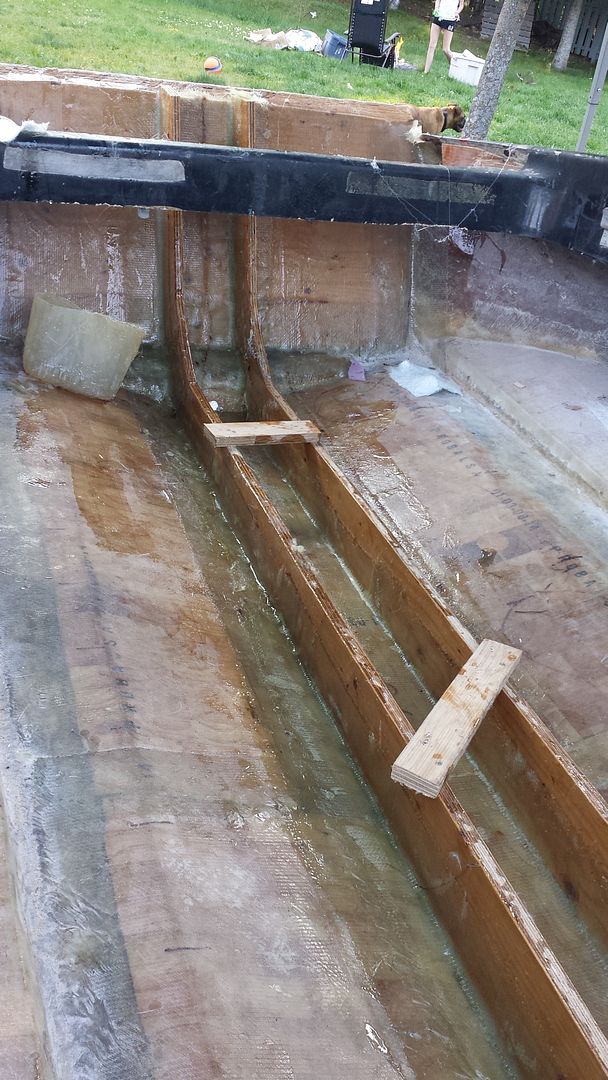
Well I have gotten a bit more work done on the core.
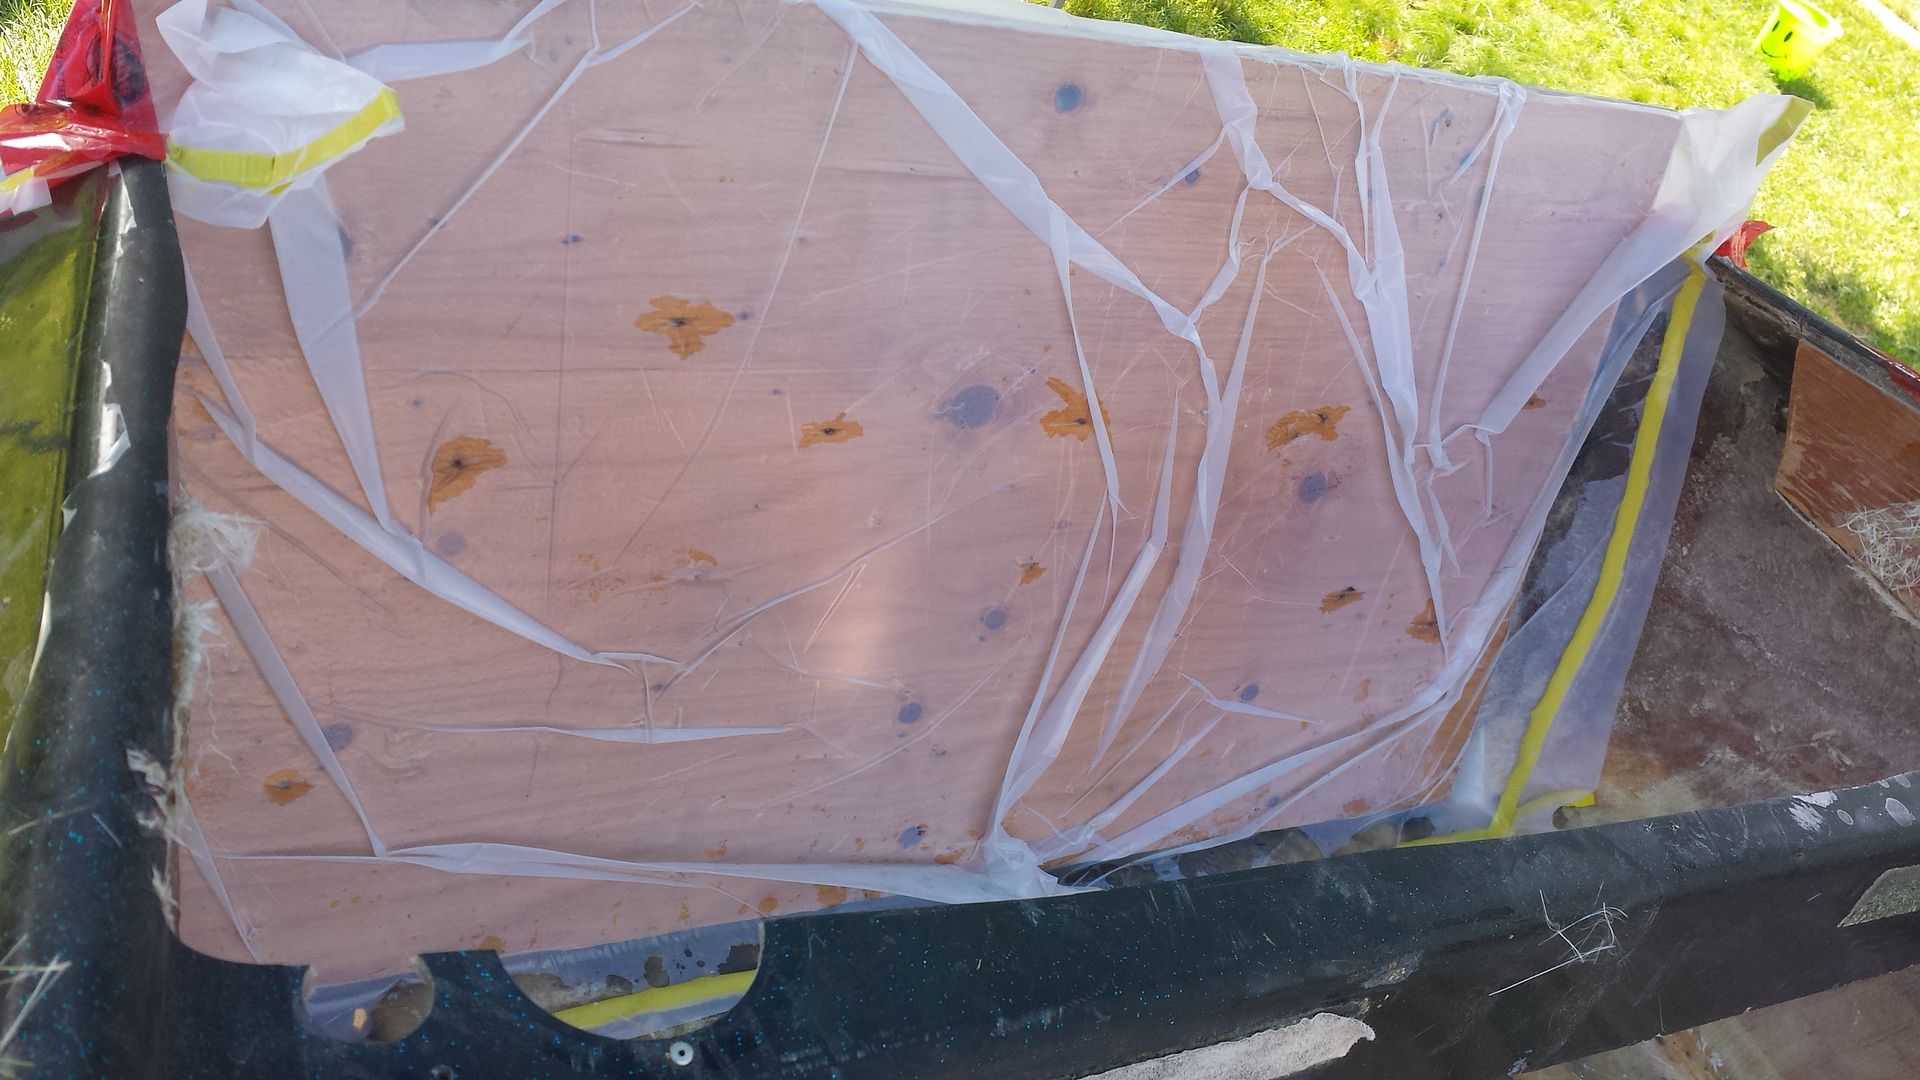
Here is a picture from tonight before I left.
Both sides of the boat are to approximately the same stage. If I can get 1 more full day I should have all the core in, need to do the pad and under the deck.
I have left the bottom edges of the 1208 over hanging and haven't done anything with it as it will get ground off when the pad goes in then overlapped part way up the next section of core with 1208.
I had another very large vacuum bag fail on the other side, which resulted in maybe 25% of the core not bonding properly, in small sections all over, I debated tearing it out and doing it again.... Then I decided not to so I will be drilling some holes and back filling with some slightly thickened resin with a syringe. The bag fail was once again my own fault, I didn't clean the area where the bagging tape was going to go very well so the tape didn't stick, but I wasn't able to find that area until after when I removed the bag and 12" section of tape came right with 0 effort.
Then I took the left over resin, as I had catalyzed too much and spread it around on top of previously laid out core.
Oh well. Live and learn.... mostly DON'T CUT CORNERS.Last edited by canuckr; 07-02-2015 at 08:38 PM.
-
07-03-2015, 08:54 PM #10
Member
- Join Date
- Jun 2014
- Location
- Petawawa, ON
- Posts
- 90
- Thanks (Given)
- 1
- Thanks (Received)
- 6
- Likes (Given)
- 4
- Likes (Received)
- 29
- Mentioned
- 0 Post(s)
- Tagged
- 0 Thread(s)
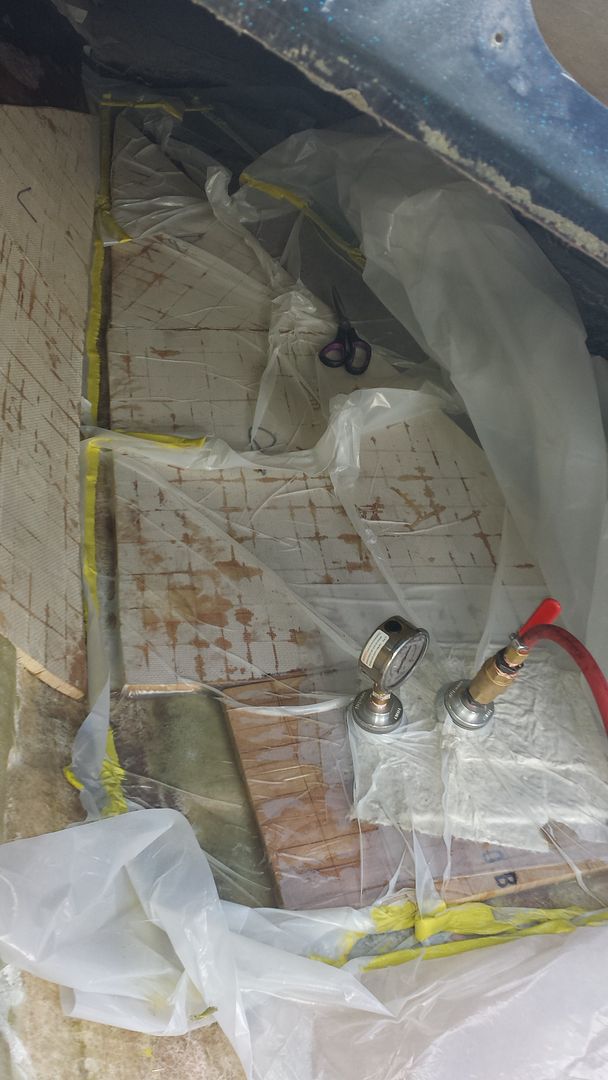
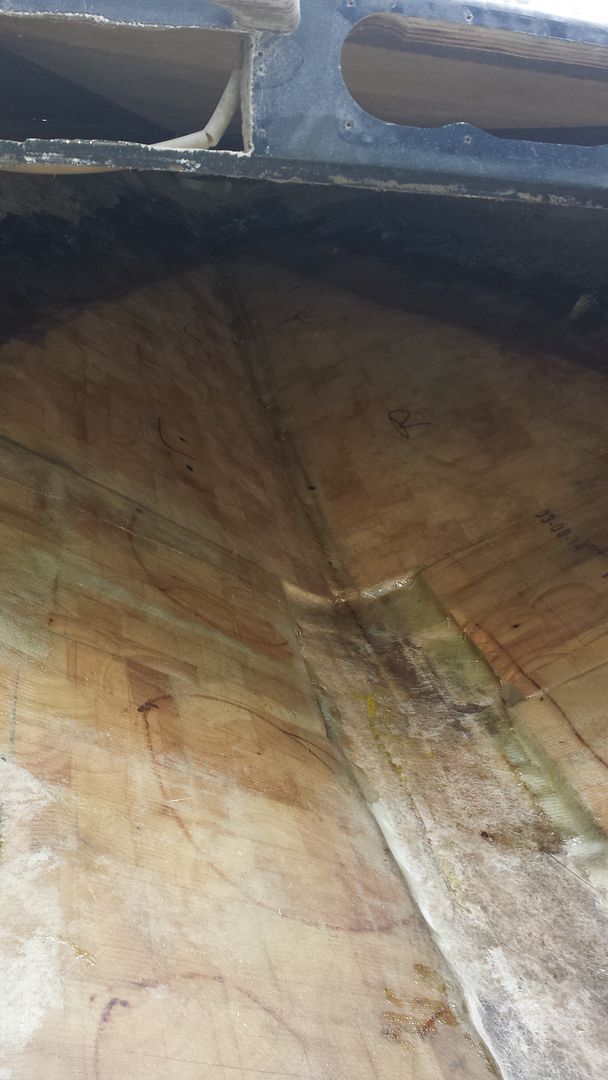
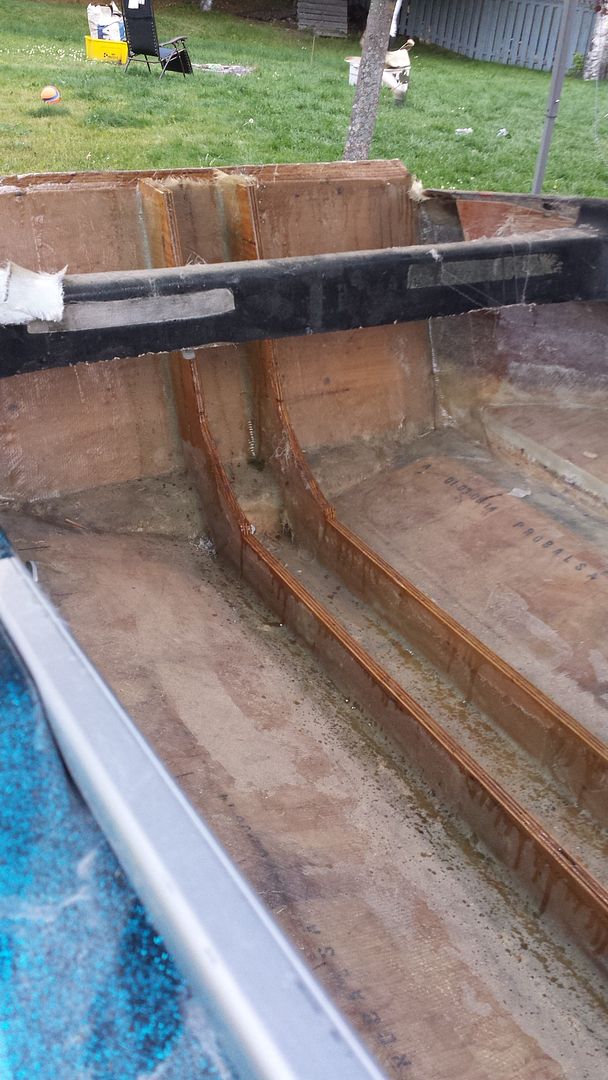
Back at it today, got under the bow done. Next week I will get the pad core in, then I can get the transom in and start working on stringers, knees and a floor.
A couple pictures from today.
You can see where I have circled some spots that need to be back filled with resin, the circles are larger than the actual non adhered areas. Stupid vacuum bag.
-
07-06-2015, 08:08 AM #11
6000 RPM
- Join Date
- Apr 2001
- Location
- Prosperity SC
- Posts
- 1,193
- Thanks (Given)
- 0
- Thanks (Received)
- 2
- Likes (Given)
- 0
- Likes (Received)
- 0
- Mentioned
- 0 Post(s)
- Tagged
- 0 Thread(s)
looking good!
Change is a good thing.
-
07-08-2015, 07:26 PM #12
Member
- Join Date
- Jun 2014
- Location
- Petawawa, ON
- Posts
- 90
- Thanks (Given)
- 1
- Thanks (Received)
- 6
- Likes (Given)
- 4
- Likes (Received)
- 29
- Mentioned
- 0 Post(s)
- Tagged
- 0 Thread(s)
Well now I'm getting somewhere..... ISH.
Here is the last section of core going in.
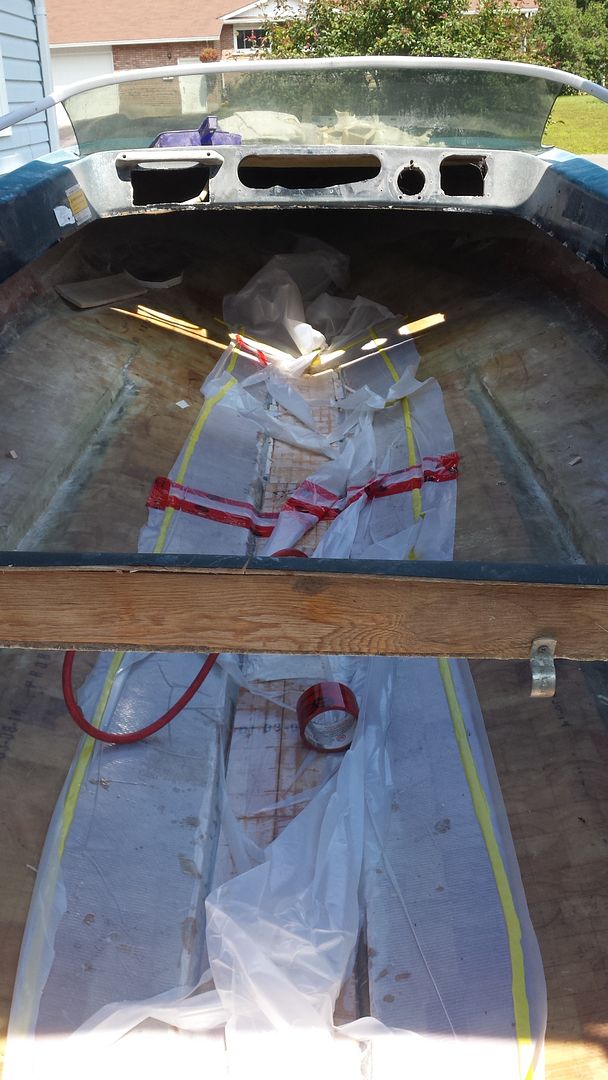
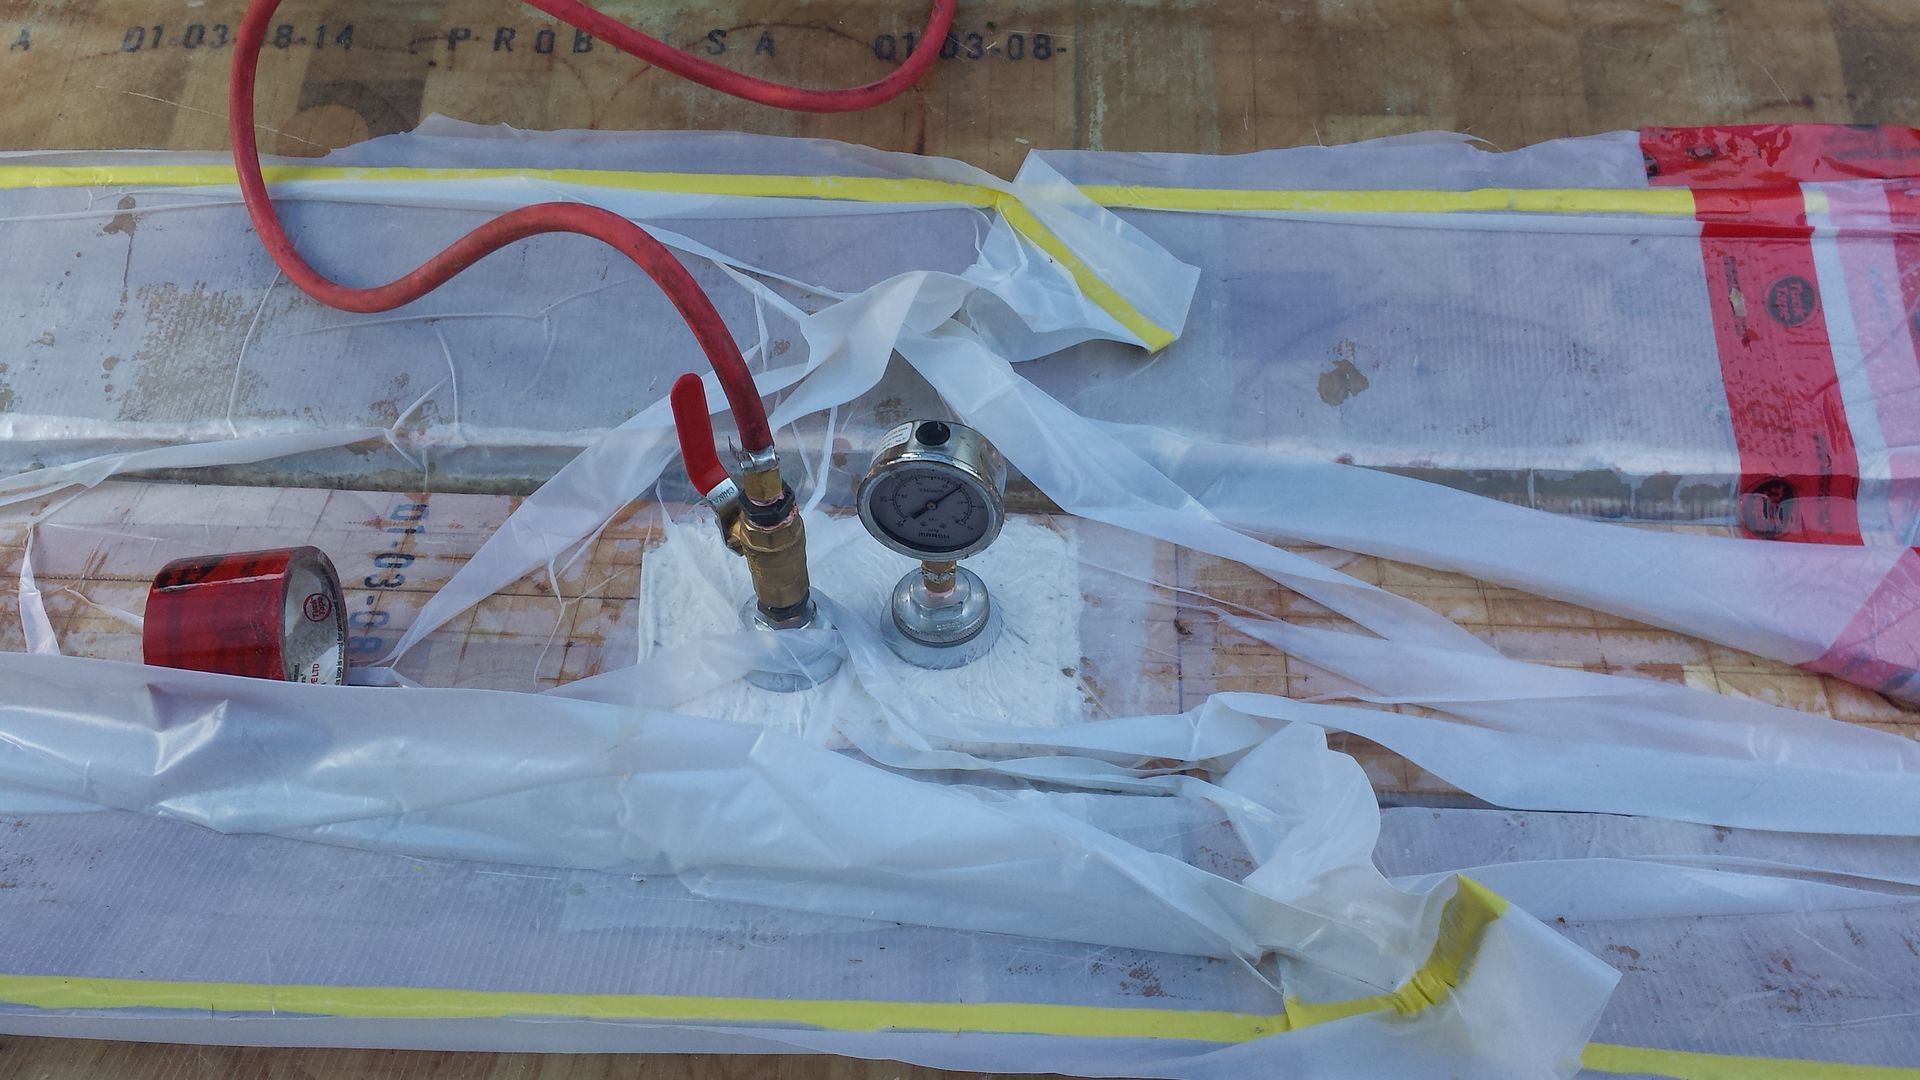
Vacuum......
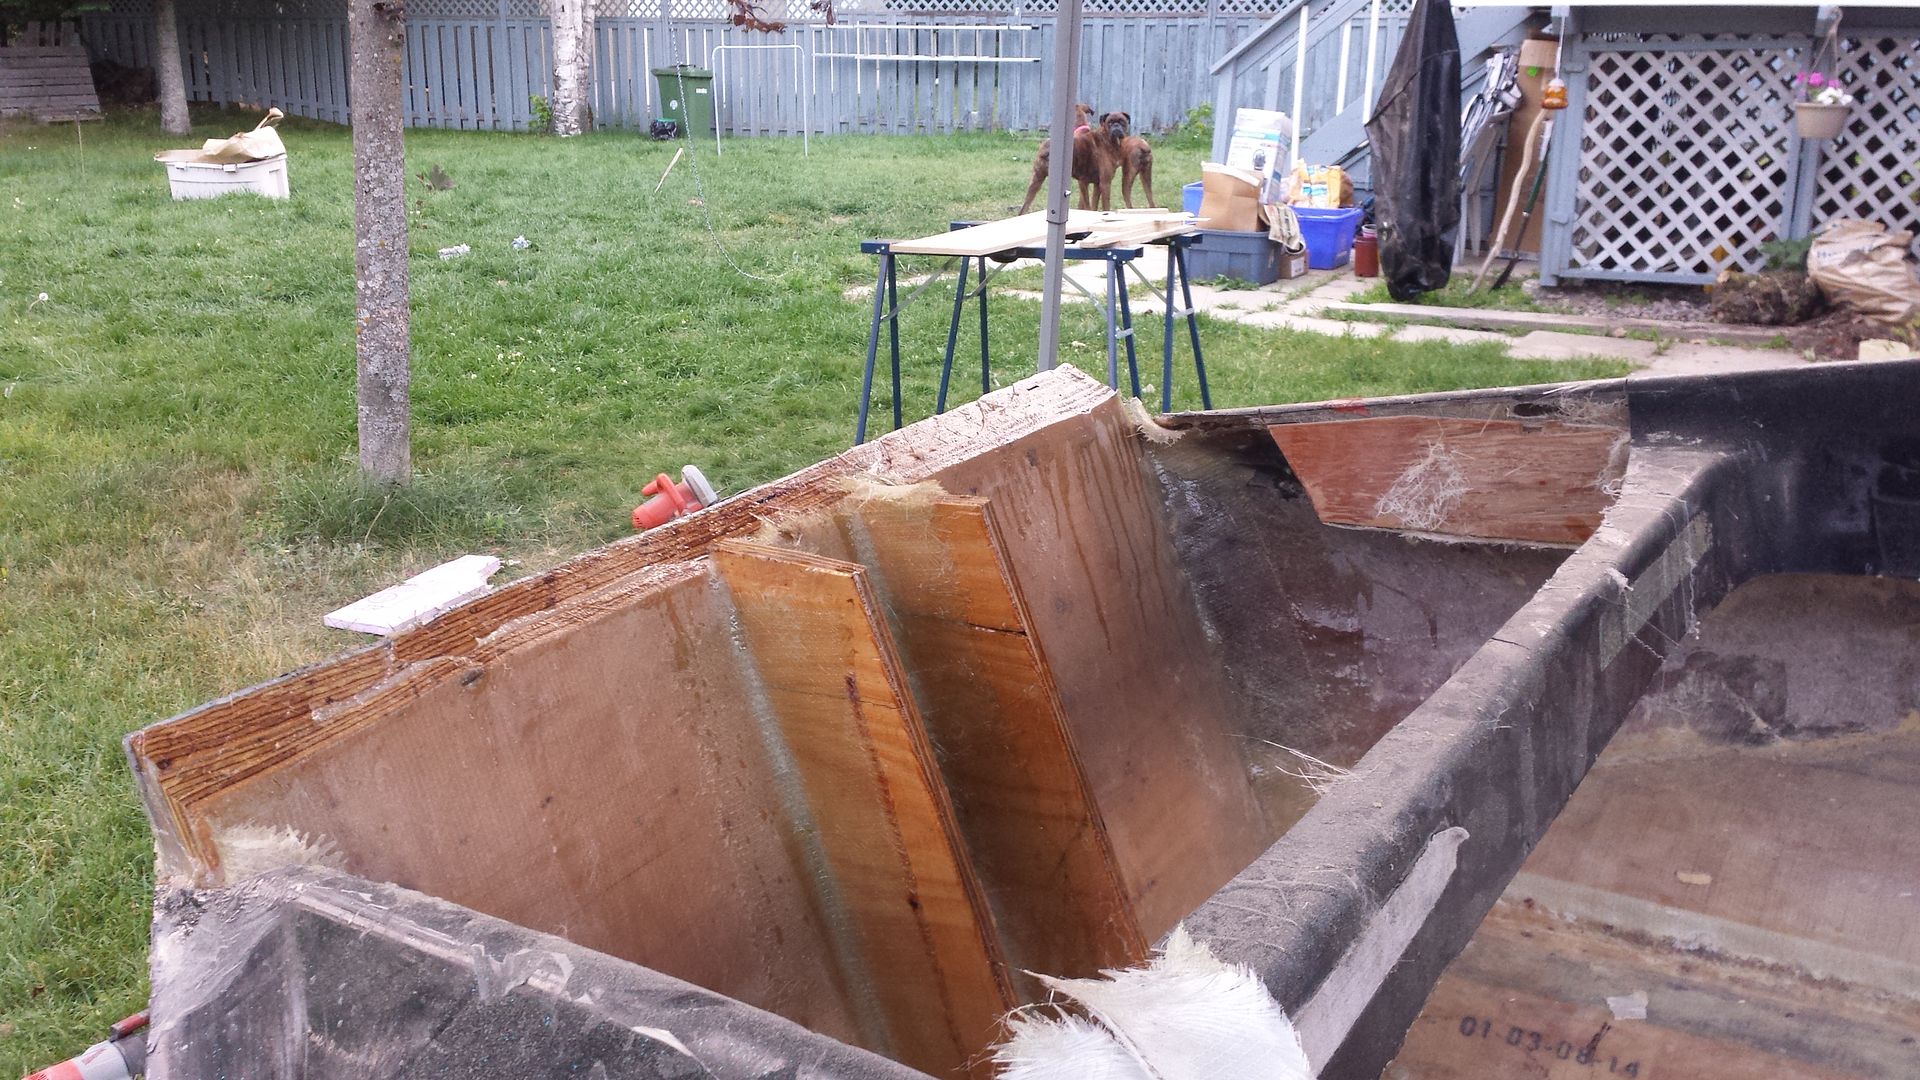
Here is the transom going in.
3 layers of 2oz CSM between the skin and the new transom. When I laminated the transom together I laminated a piece of .125 aluminum to the transom boards to put against the outer skin, sort of like a transom saver, but not ugly...
I pulled 15in/HG vacuum on the transom, I would have liked a little more but there was an air leak where the top cap met the hull, noting I could do about it at the time. Had I payed closer attention when I set the bag up I probably could have sealed it. It will be good to go as it is.
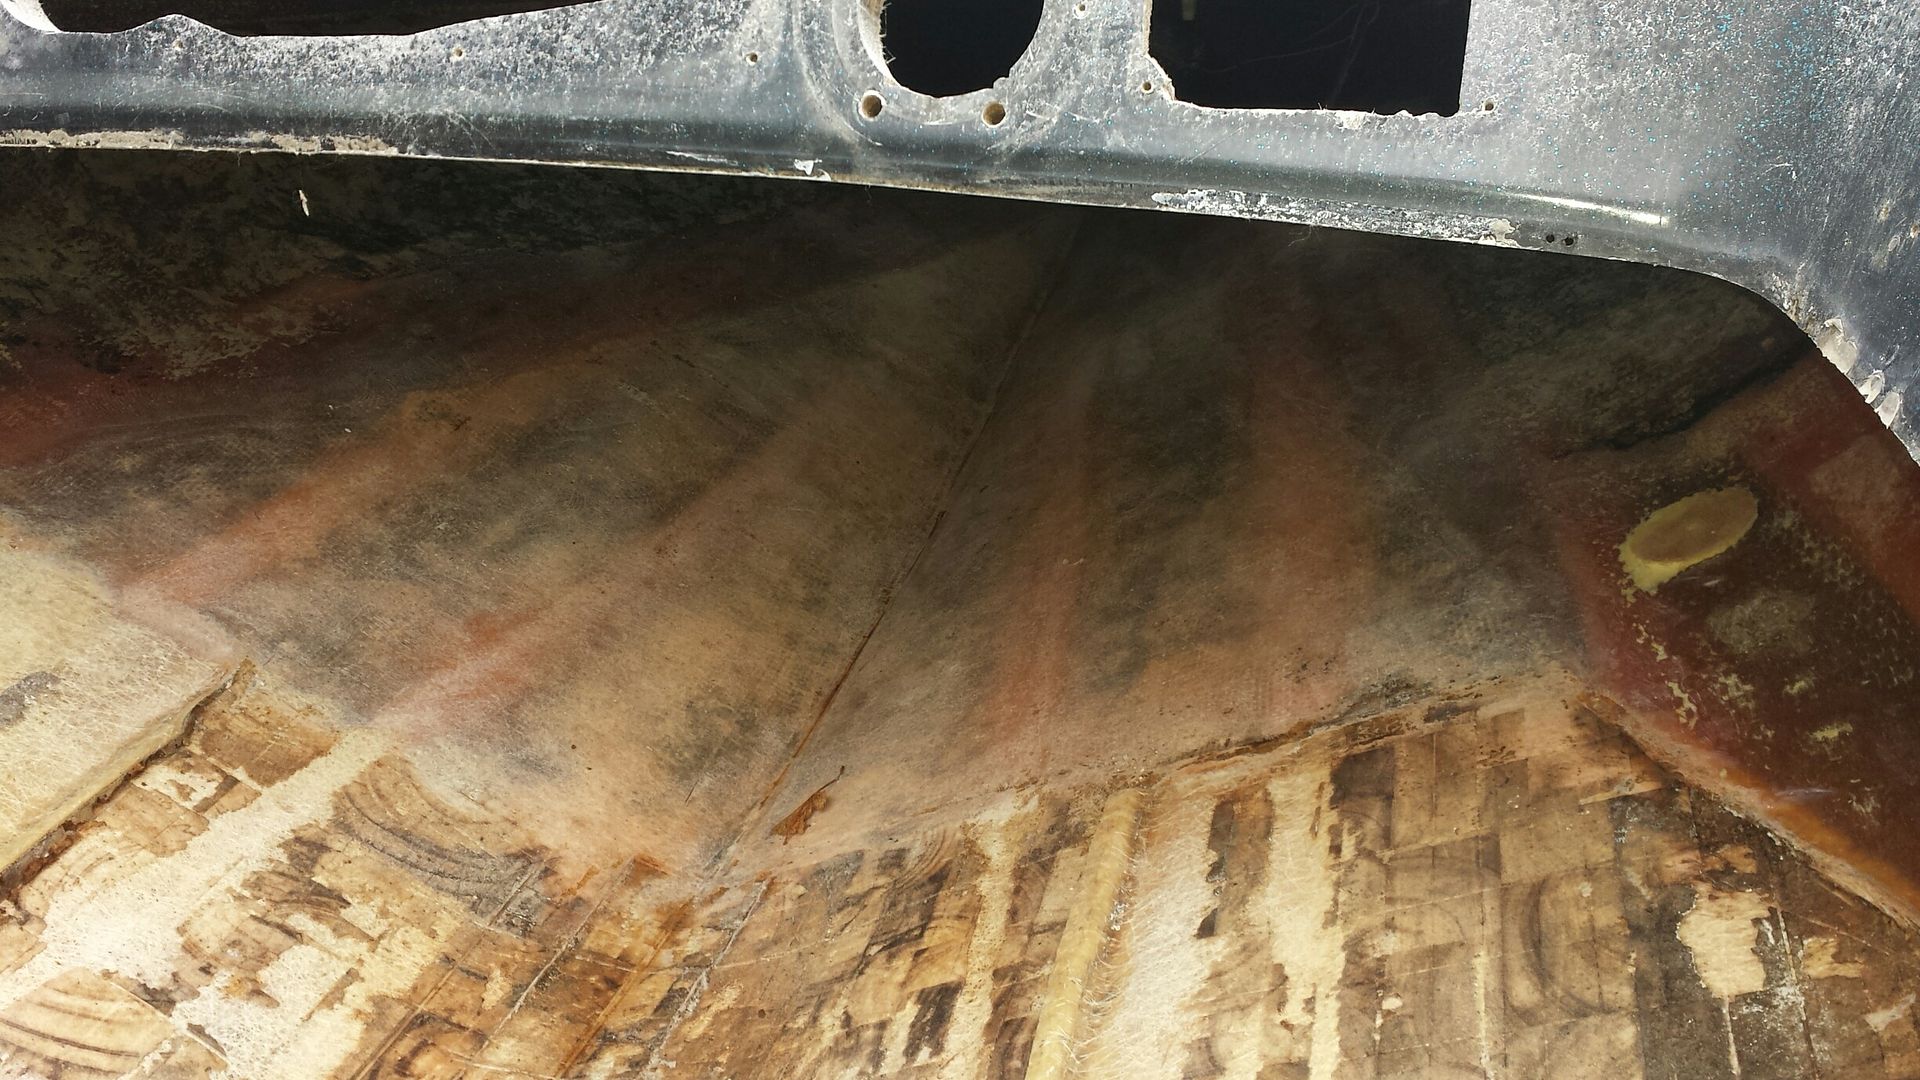
From the inside, you can see where the resin was pulled through the vent holes I drilled through the transom to let the excess resin and air out.
By the time the resin set up almost every vent hole had a bit of resin coming back through it. After it was set up I did a bit of grinding and then faired in the edges of the transom and the some small gaps in the core, before I covered it all in some 1708. I didn't get any pictures before I had everything cleaned up.
How it sleeps at night, considering I don't have a shop to do all the work in.
Including my buddy Samson. Boxer, American bully mix.

Last edited by canuckr; 07-08-2015 at 07:29 PM.
-
07-13-2015, 09:51 PM #13
Member
- Join Date
- Jun 2014
- Location
- Petawawa, ON
- Posts
- 90
- Thanks (Given)
- 1
- Thanks (Received)
- 6
- Likes (Given)
- 4
- Likes (Received)
- 29
- Mentioned
- 0 Post(s)
- Tagged
- 0 Thread(s)
Managed to get the stringers bedded and tabbed in today.
I am using 1208 to tab in the stringers, much nicer to wet and get to conform to the corners compared to the 1708.
After I had my stringers cut out I ran the router down the bottom outside edges, adding a radius to let me get them closer to the outside edge of the pad.
I just piled bricks on top of them while they were setting up, pretty much like everyone else.
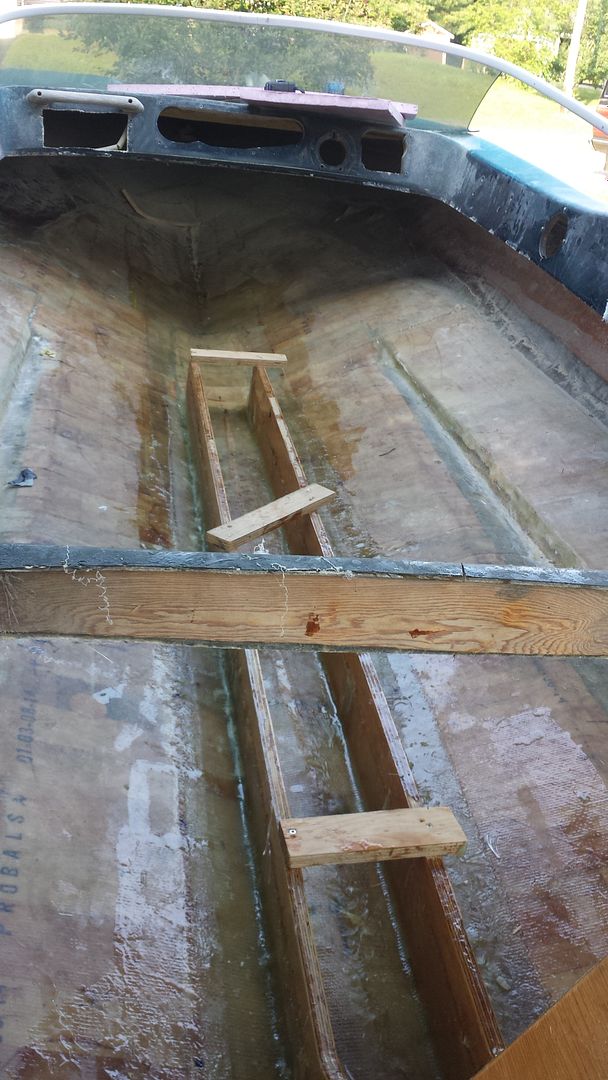
The scrap boards on top were just there to hold the stringers straight while they set up and have been removed.
Stringers tabbed in and trimmed to the correct height with a router and a board riding on the floor registers. I don't know why I decided to add so much extra height to them when I cut them. I guess I figured trimming them down was going to be easier than it was. Took 2 or 3 passes with the router as I had made the stringers too tall. Oh well. I sealed up the tops of the stringers as I was running out of daylight. Hopefully get the floor in tomorrow.
I also rough cut (heavy on the rough) the top of the transom so that I can start fitting the deck soon.
Tomorrow I will cover the tops of the stringers before I put the floor on, then hopefully start on the deck.
-
07-14-2015, 07:11 PM #14
Member
- Join Date
- Jun 2014
- Location
- Petawawa, ON
- Posts
- 90
- Thanks (Given)
- 1
- Thanks (Received)
- 6
- Likes (Given)
- 4
- Likes (Received)
- 29
- Mentioned
- 0 Post(s)
- Tagged
- 0 Thread(s)
Getting a little bit ahead of myself here but I am starting to think ahead to rigging and set up. The boat IS going to be skied behind, if it's not going fast, it's going to have a skier behind it generally speaking.
The motor I have is a MERC 1985 150HP XR2. The motor has the newer style 3 ram trim set up on it. I am looking for opinions on jack plates, I will probably run a manual plate. Unless a hydro plate is necessary to go between skiing and cruising. Set back? Specific brand to get or brands to avoid? I was thinking a 4" set back?
I don't have a nosecone or LWP at the moment, most seem to run the prop shaft pretty close to the pad for going fast, I don't know if this is an acceptable height for pulling a skier? I intend on getting a smaller prop for skiing.
Will run hydro steering as well.
Thanks for the input.
-
07-14-2015, 07:49 PM #15
7000 RPM
- Join Date
- Mar 2008
- Location
- Wentzville.MO 40 "miles west of St Louis"
- Posts
- 2,920
- Mentioned
- 0 Post(s)
- Tagged
- 0 Thread(s)
If pulling a skier you will need the prop completely burried in the water.... down deep


 Reply With Quote


